It’s a little embarrassing to admit that up until a few years ago {looking at you, 2014}, I could not wrap a present to save my life. Well, maybe I could; I just never attempted it since it always seemed easier and less messy to purchase a pretty gift bag instead. But that year I finally decided to attempt wrapping a gift on my own because there’s nothing quite as fun as ripping apart the gift wrapping from a present and there’s nothing quite as pretty as a perfectly wrapped present. It ended up being a bit easier to recreate after watching my mom give me a tutorial, and now I love buying a plethora of pretty wrapping paper to gift wrap all my presents. Topped off with a handwritten card or sparkly bow, nothing says it’s a pretty present quite like this.
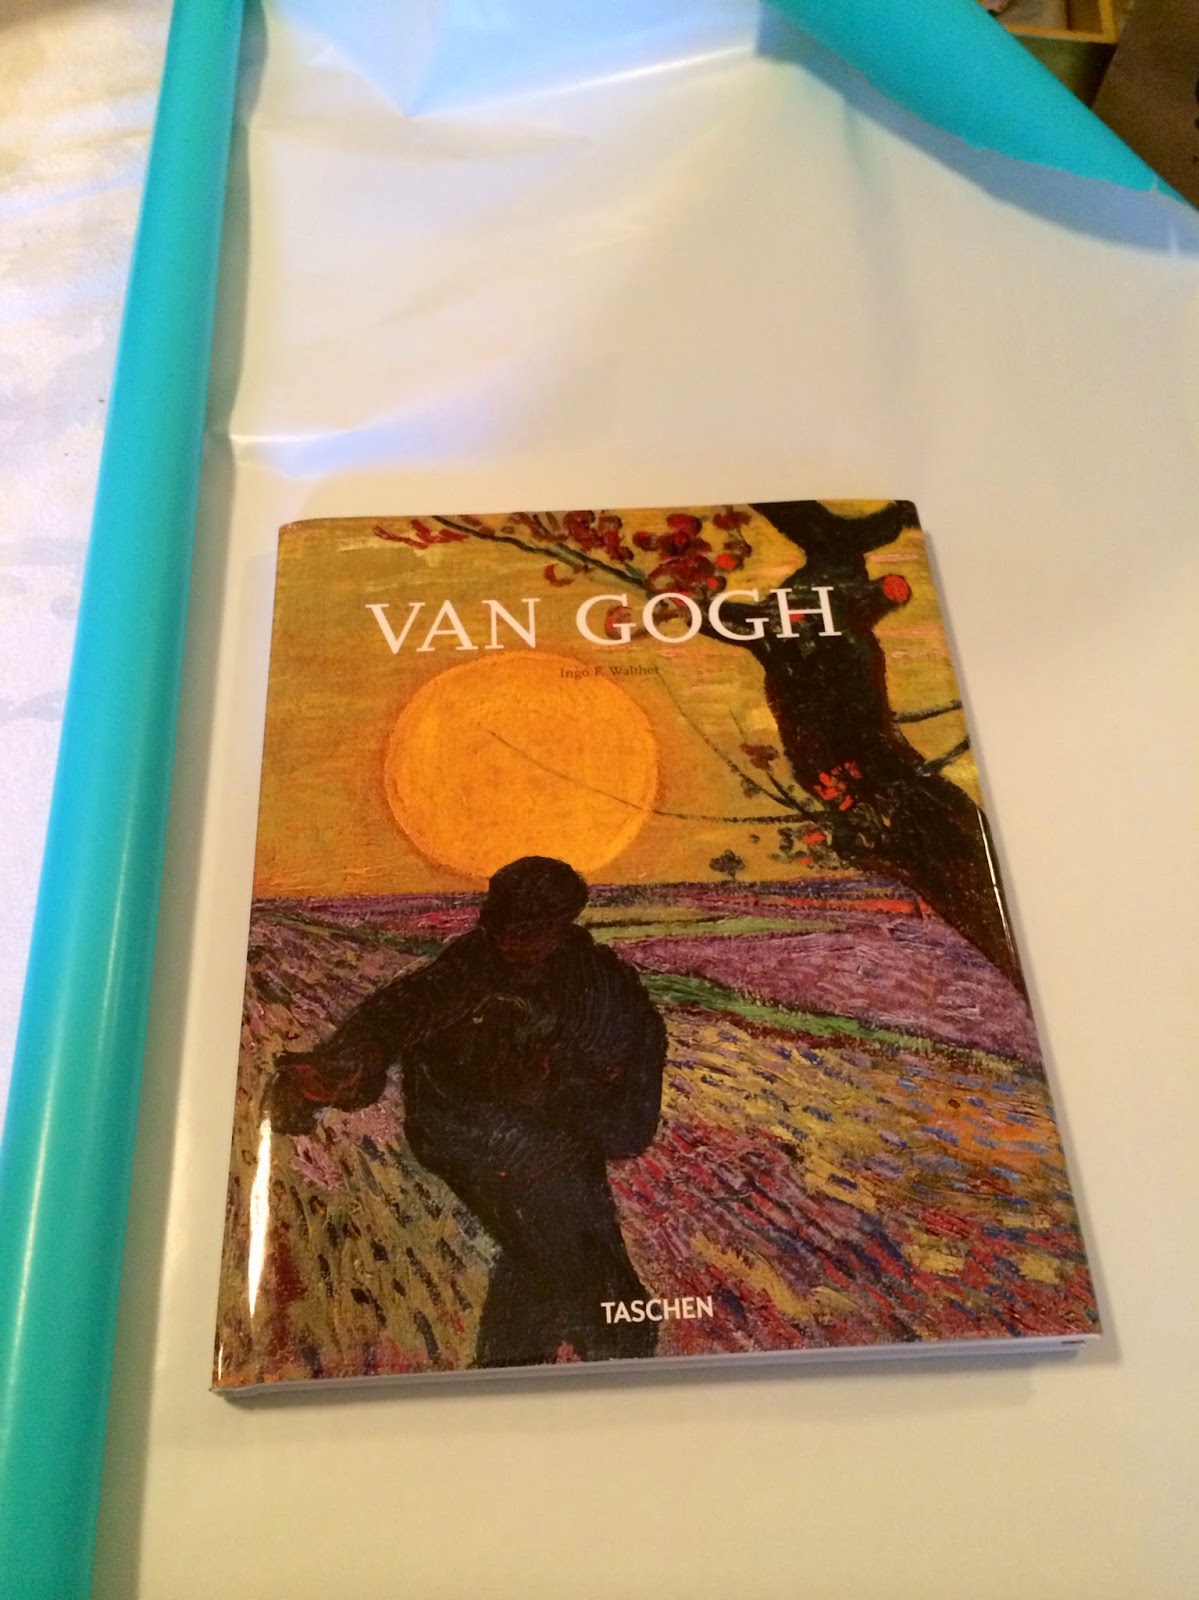
{Step 1: Place your present on the wrapping paper, making sure that there is plenty of paper on all sides of the gift.}
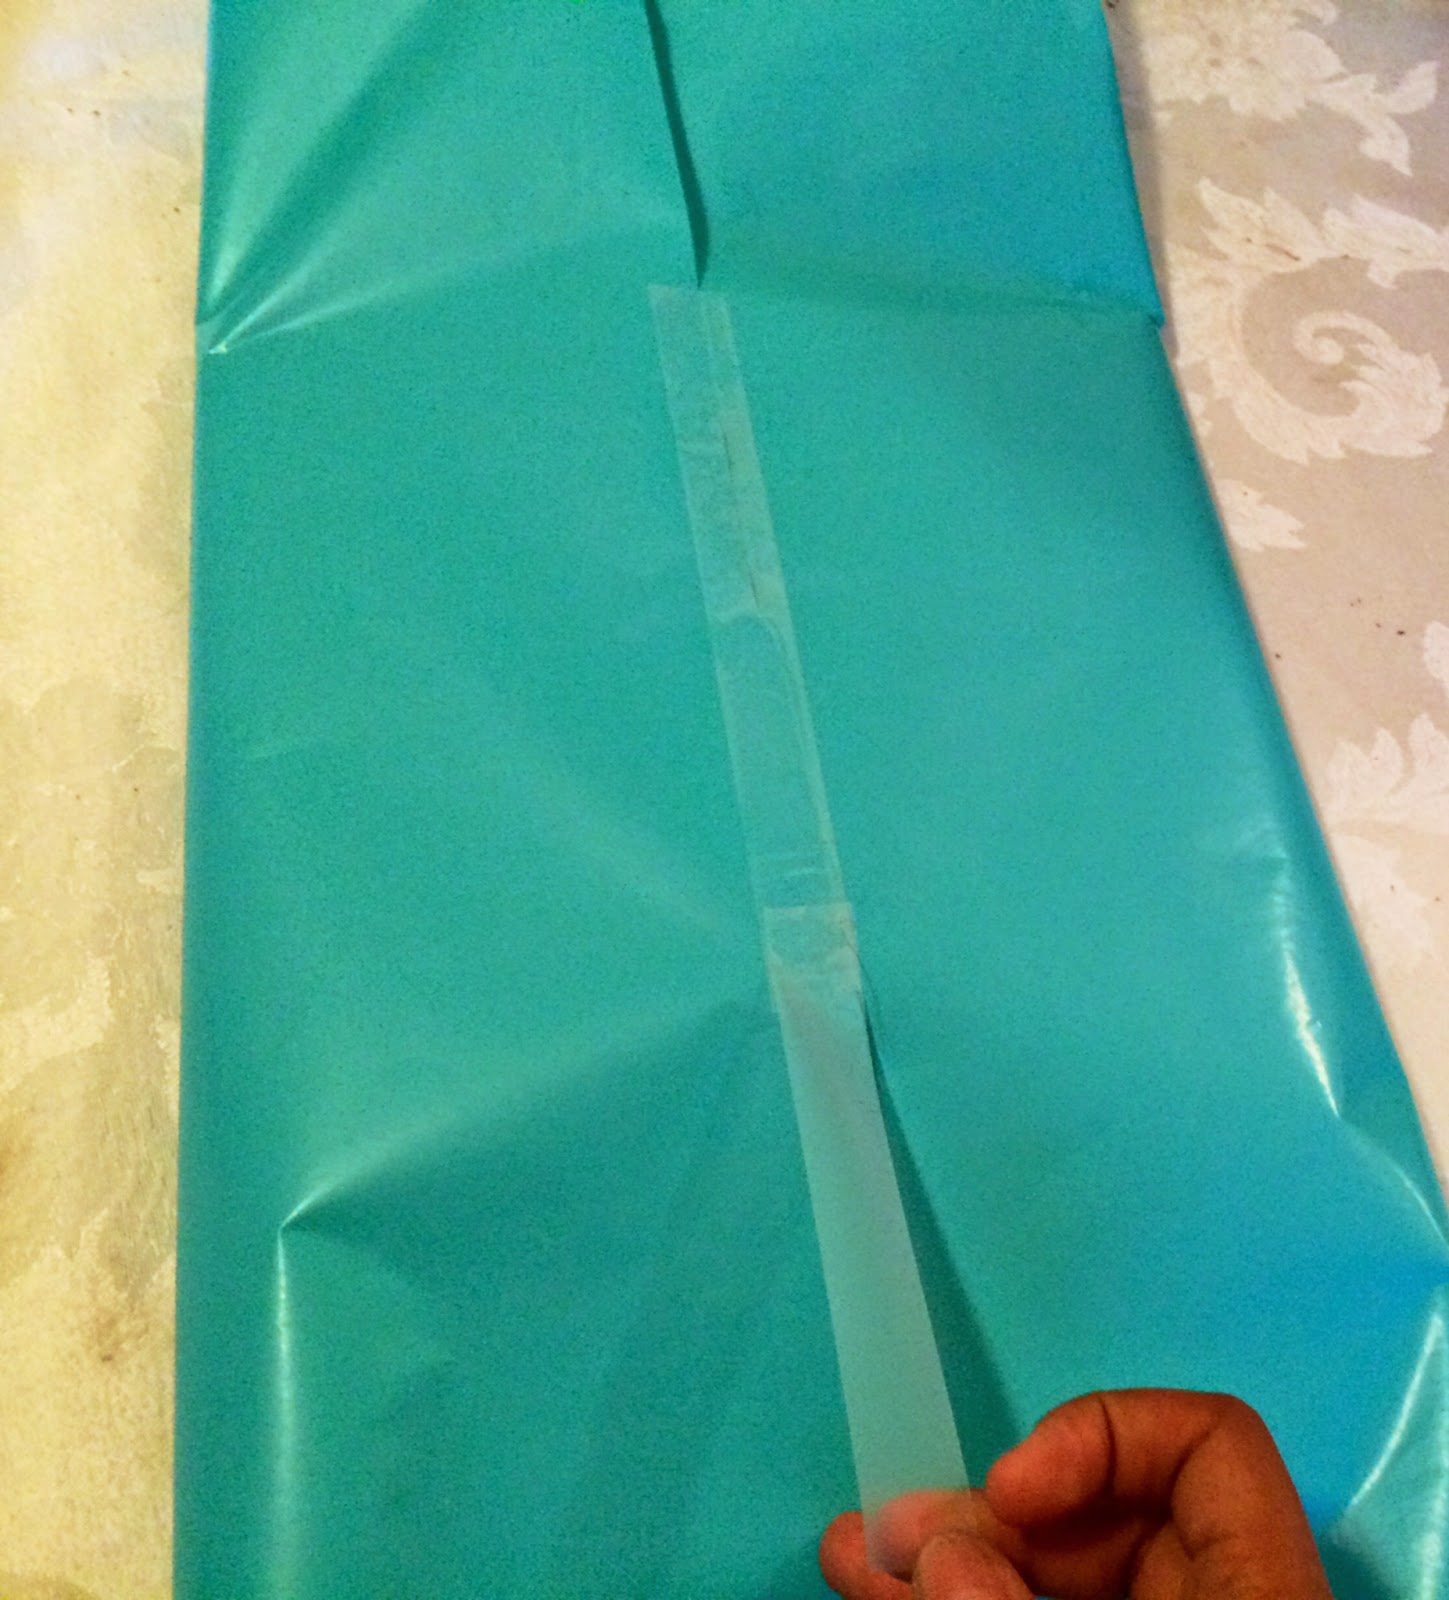
{Step 2: Fold the paper vertically to cover the present completely and tape it down the center.}
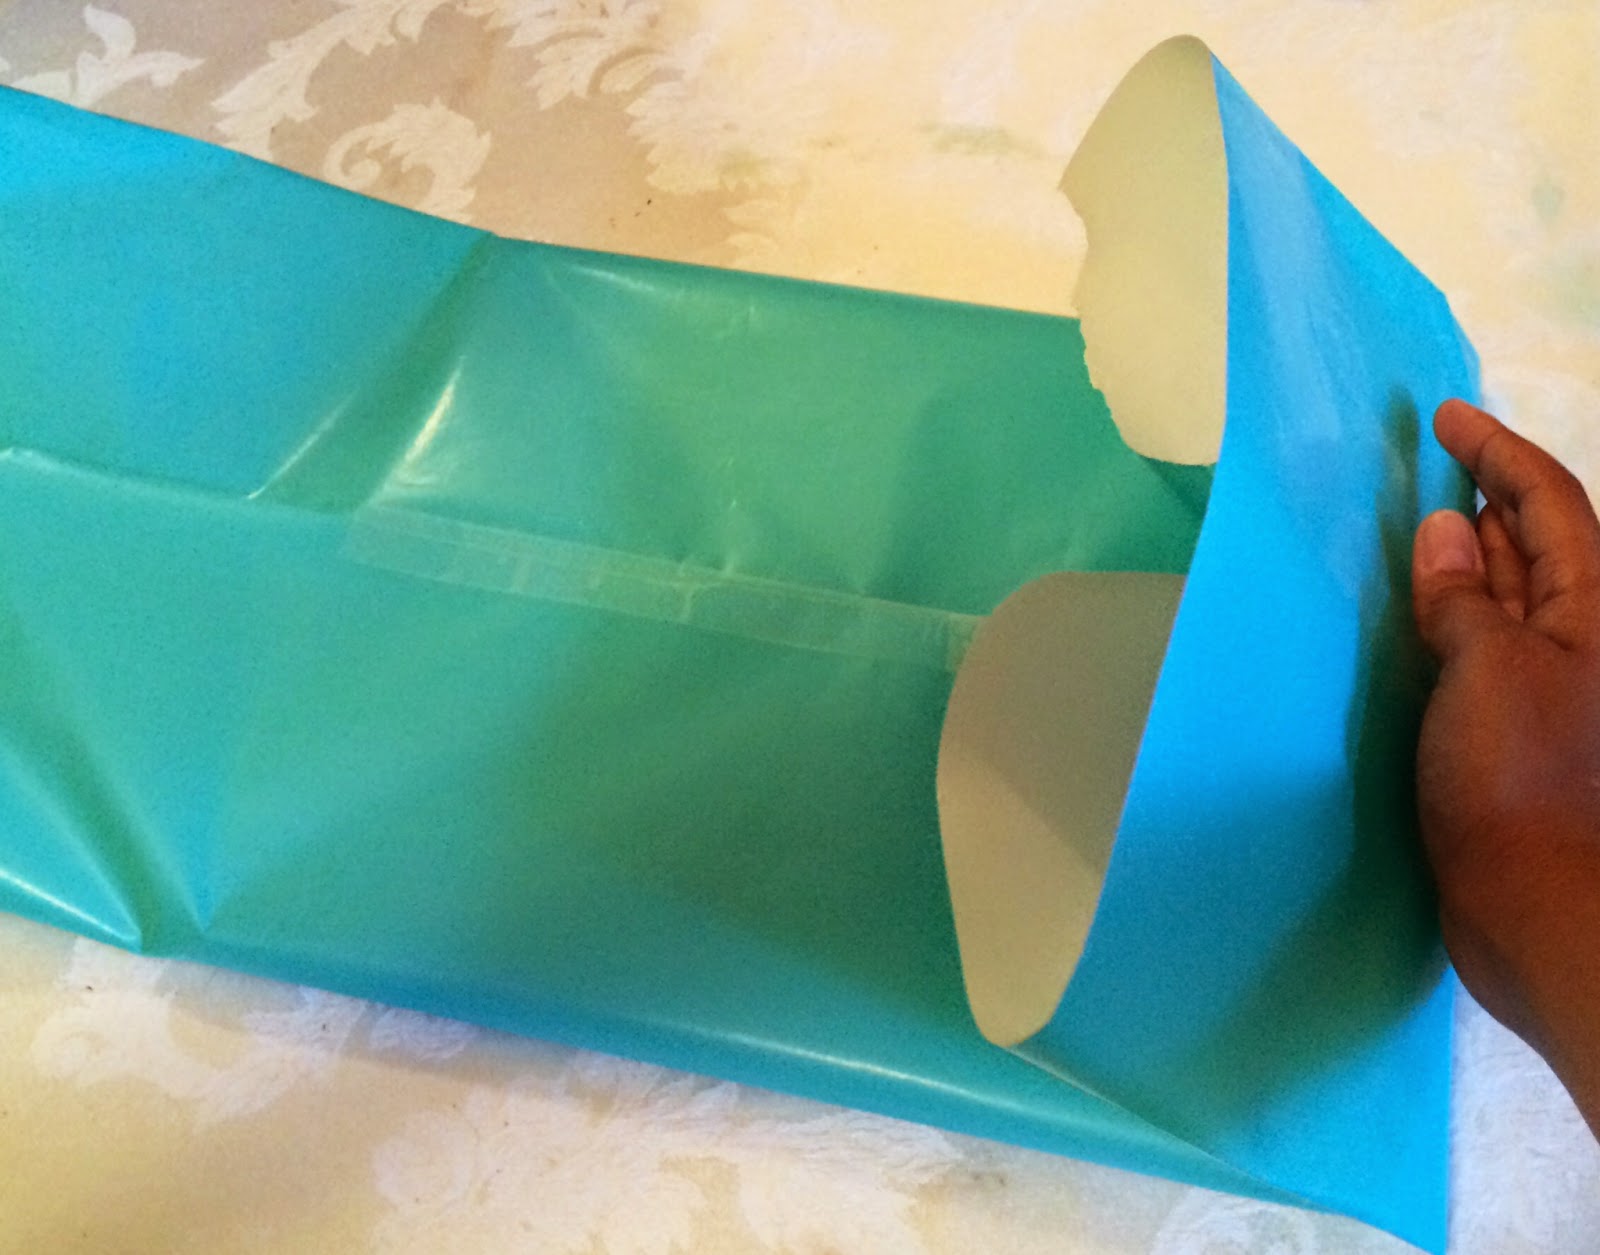
{Step 3: Fold the paper on the top and bottom of the gift so that the wrapping paper is tight against the gift.}
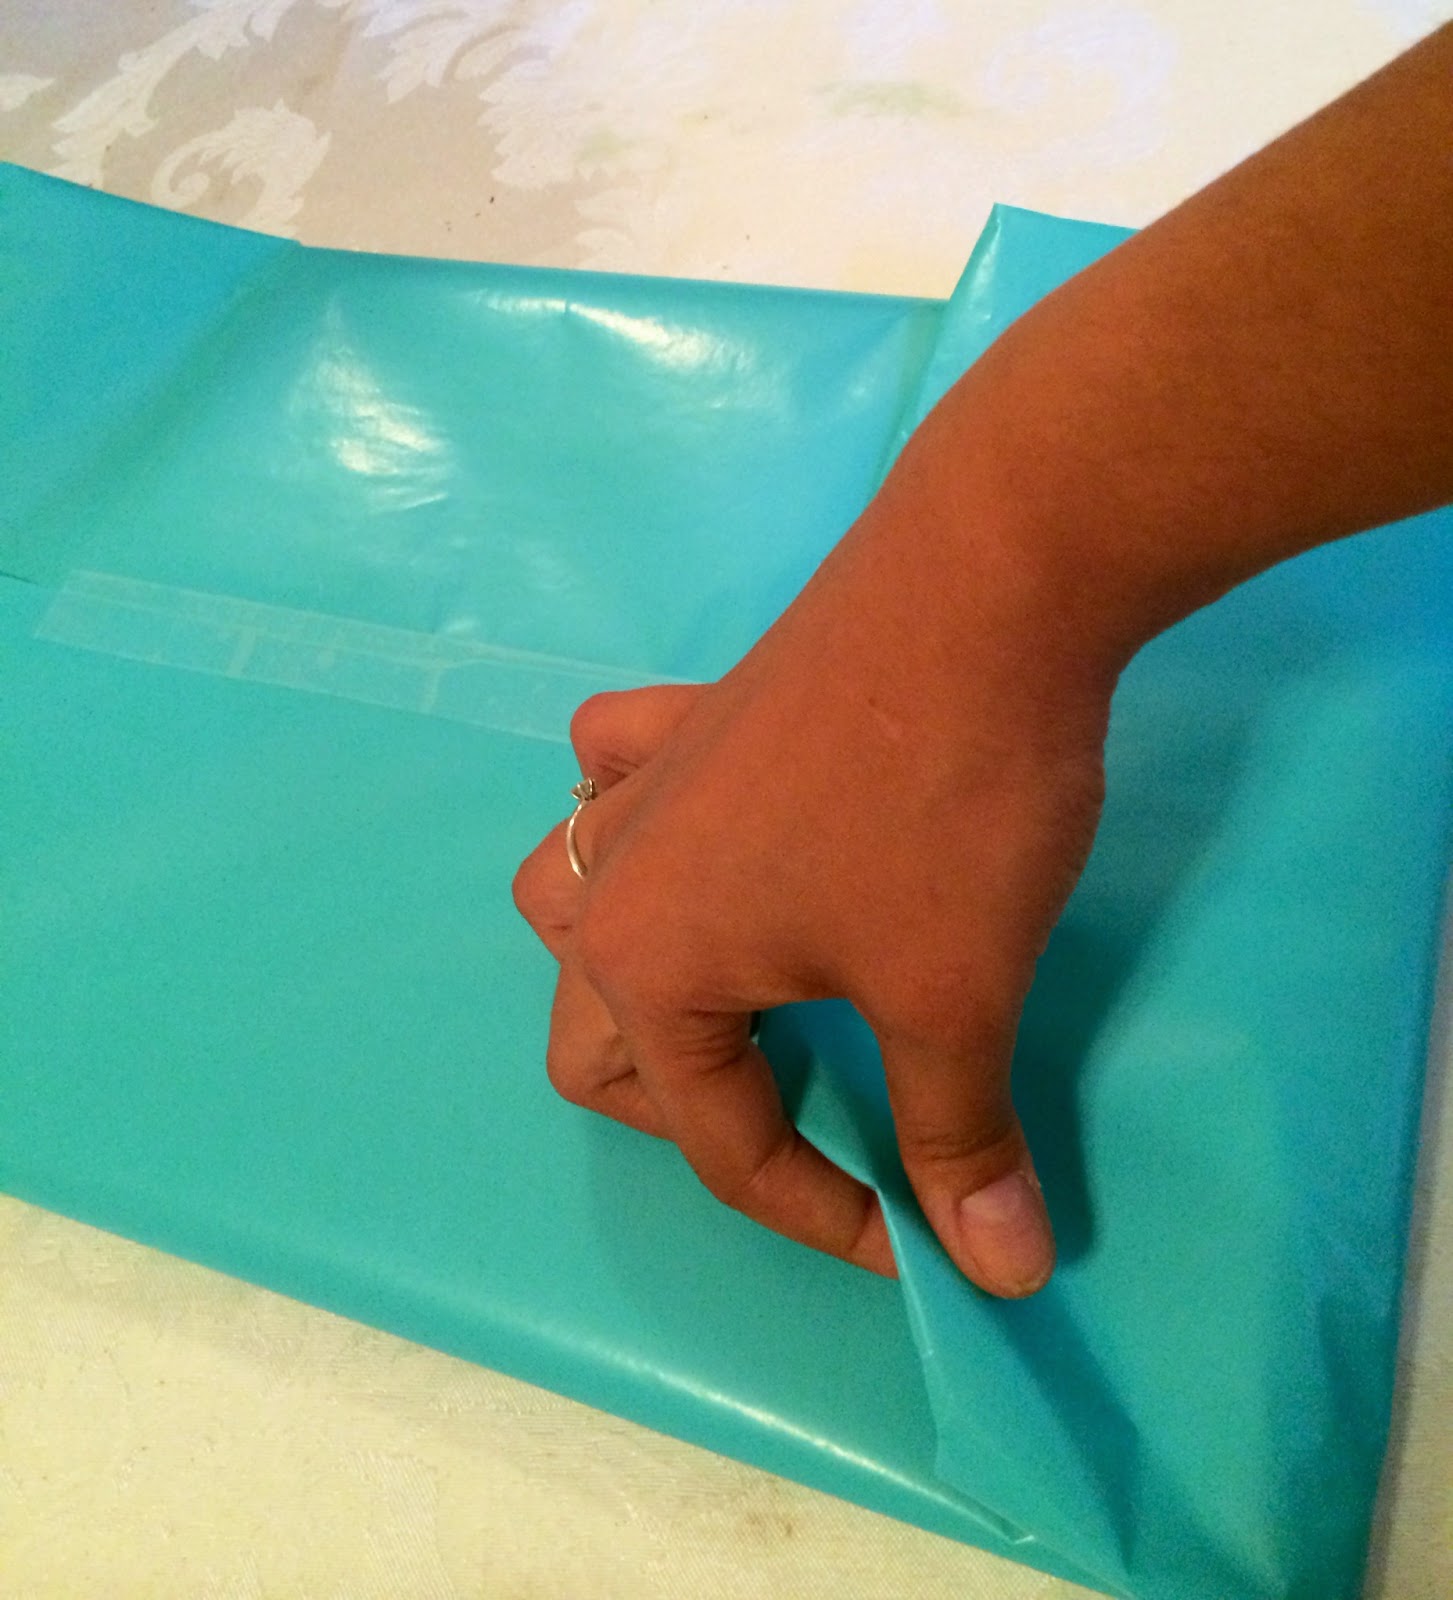
{Step 4: To make it a little prettier, fold in the edges underneath to give the underside of the gift look like two, flat-topped triangles.}
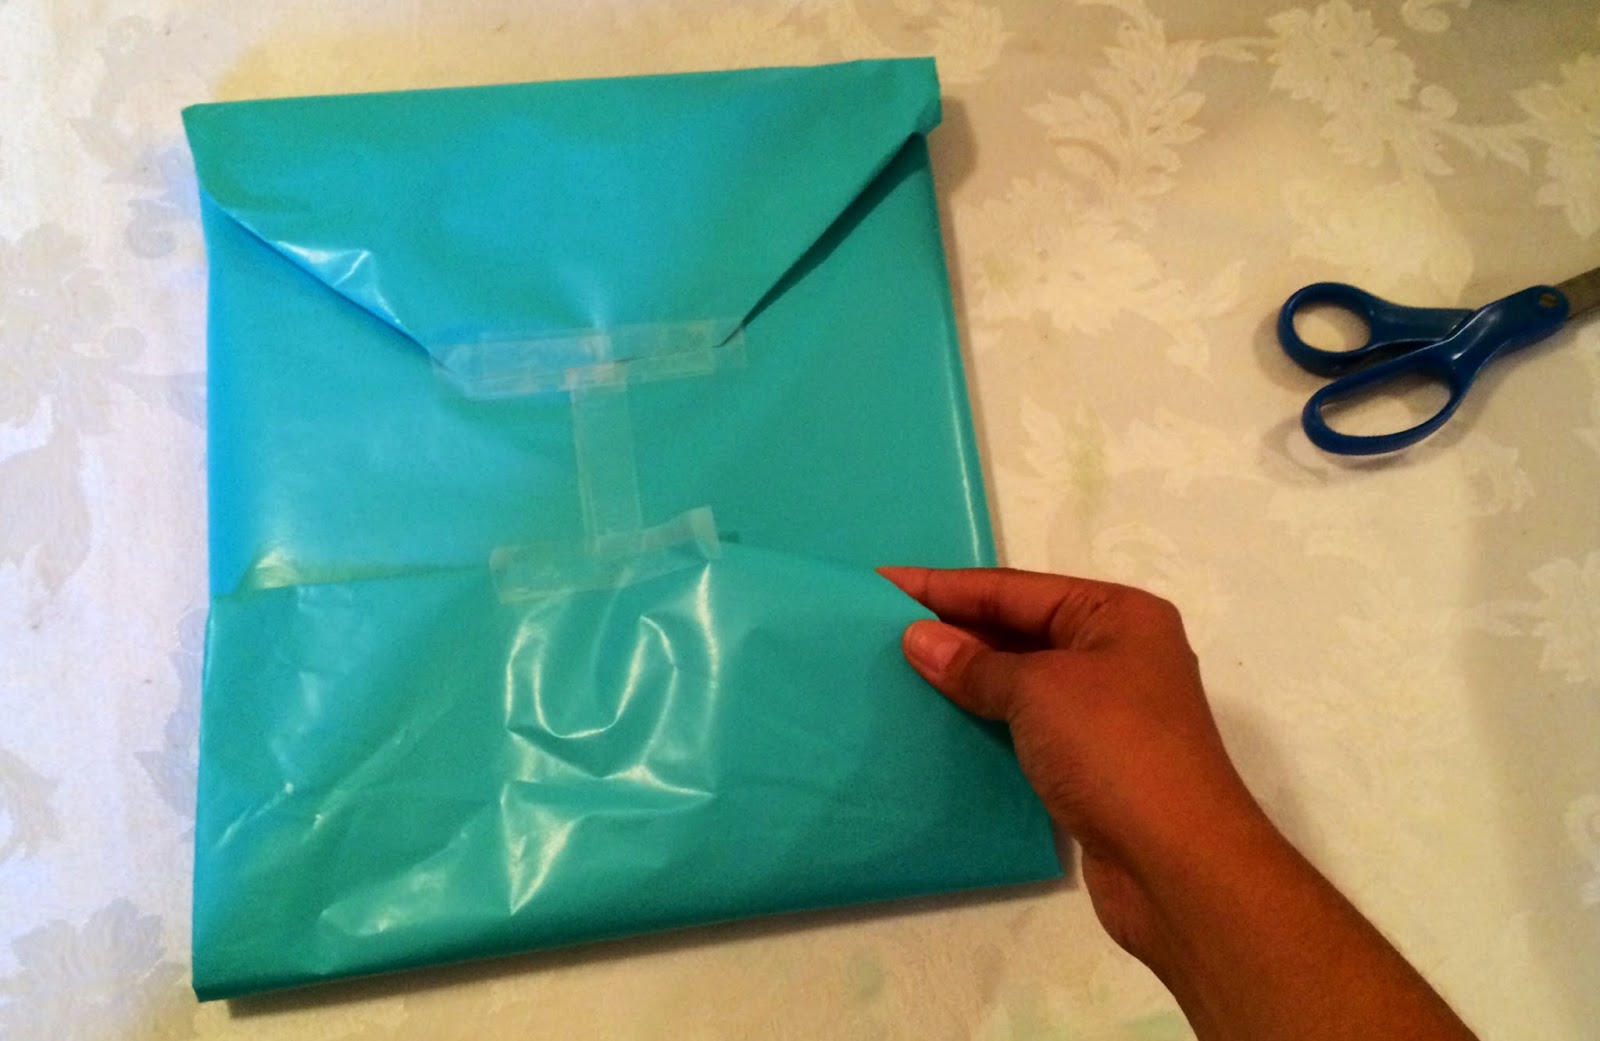
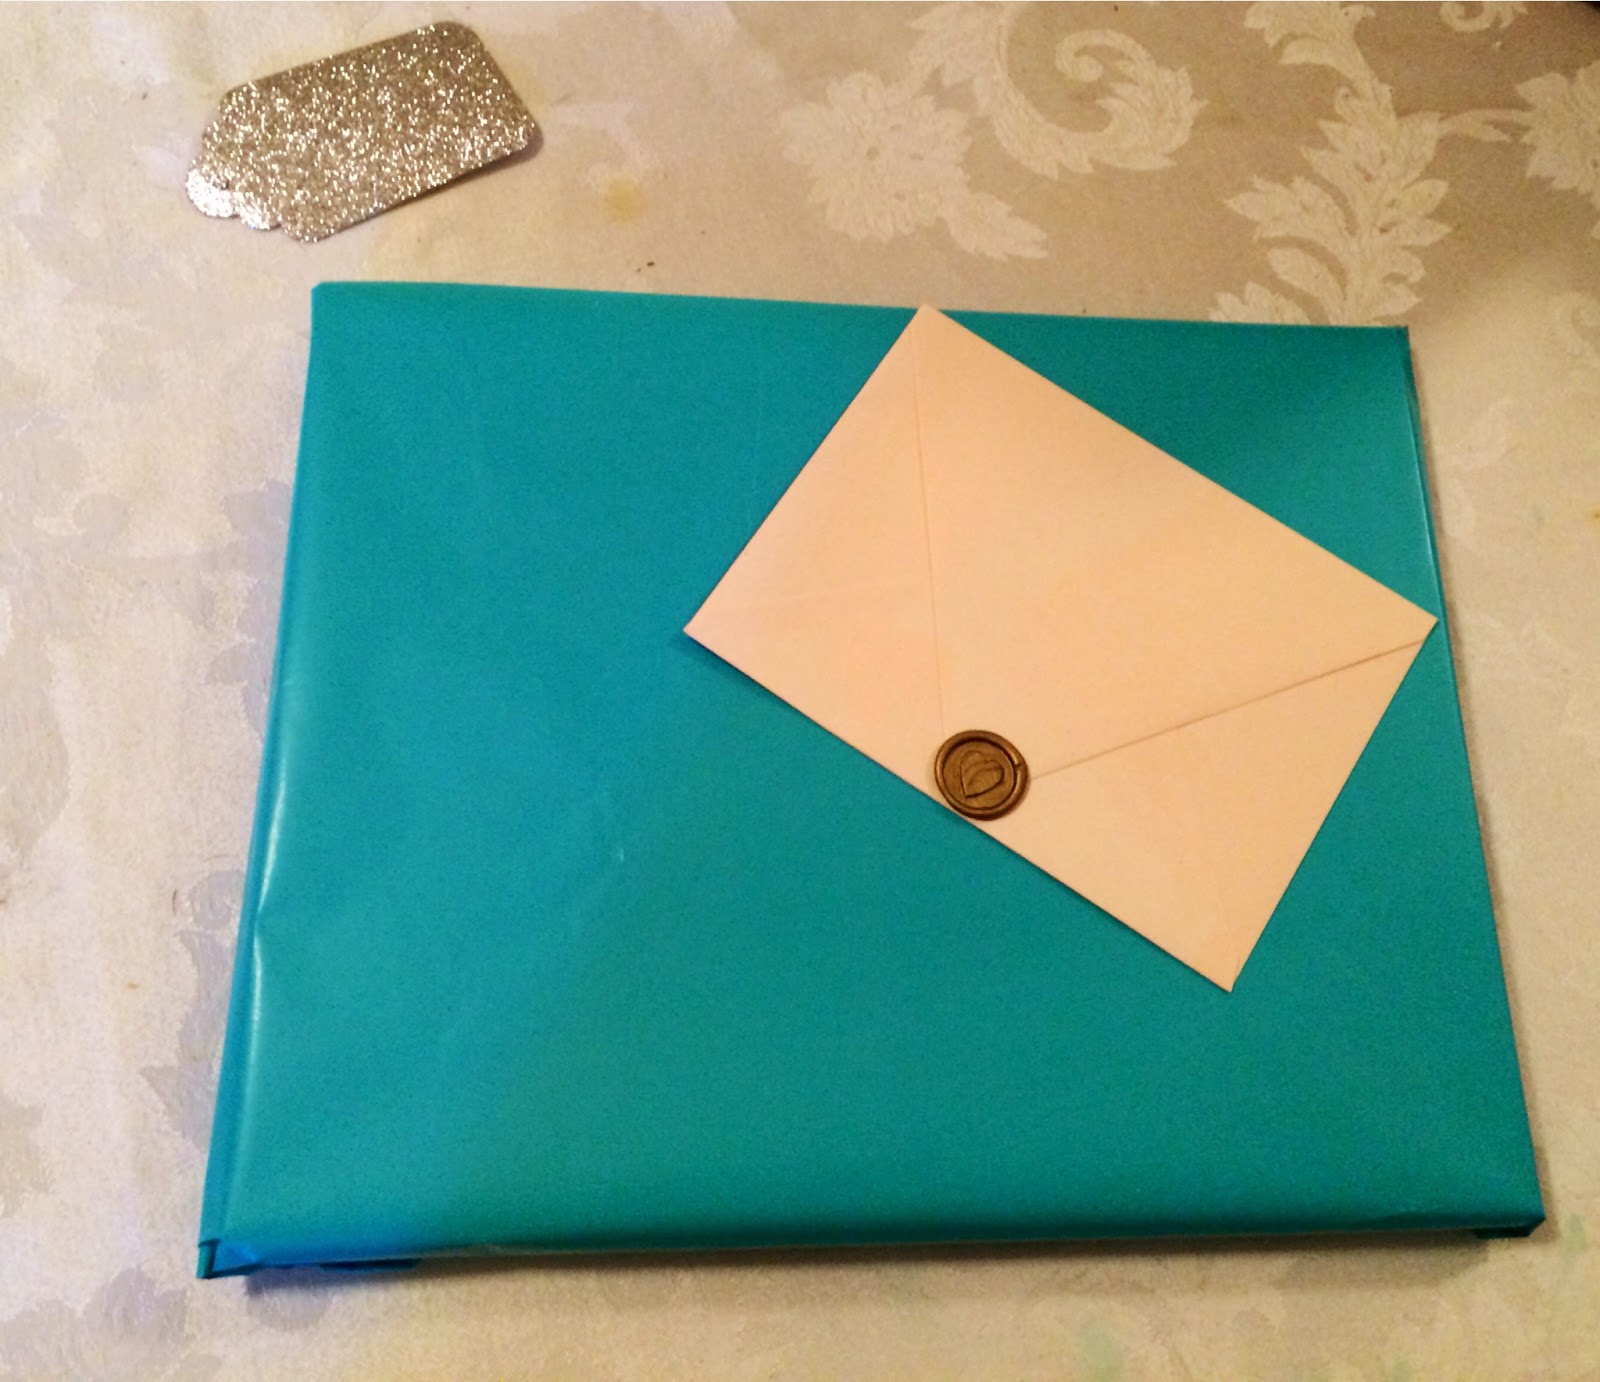
{Step 5: Fold all four sides of the “triangle” and decorate with sparkly gift tags, pretty cards, silky ribbon, or glittery bows.}
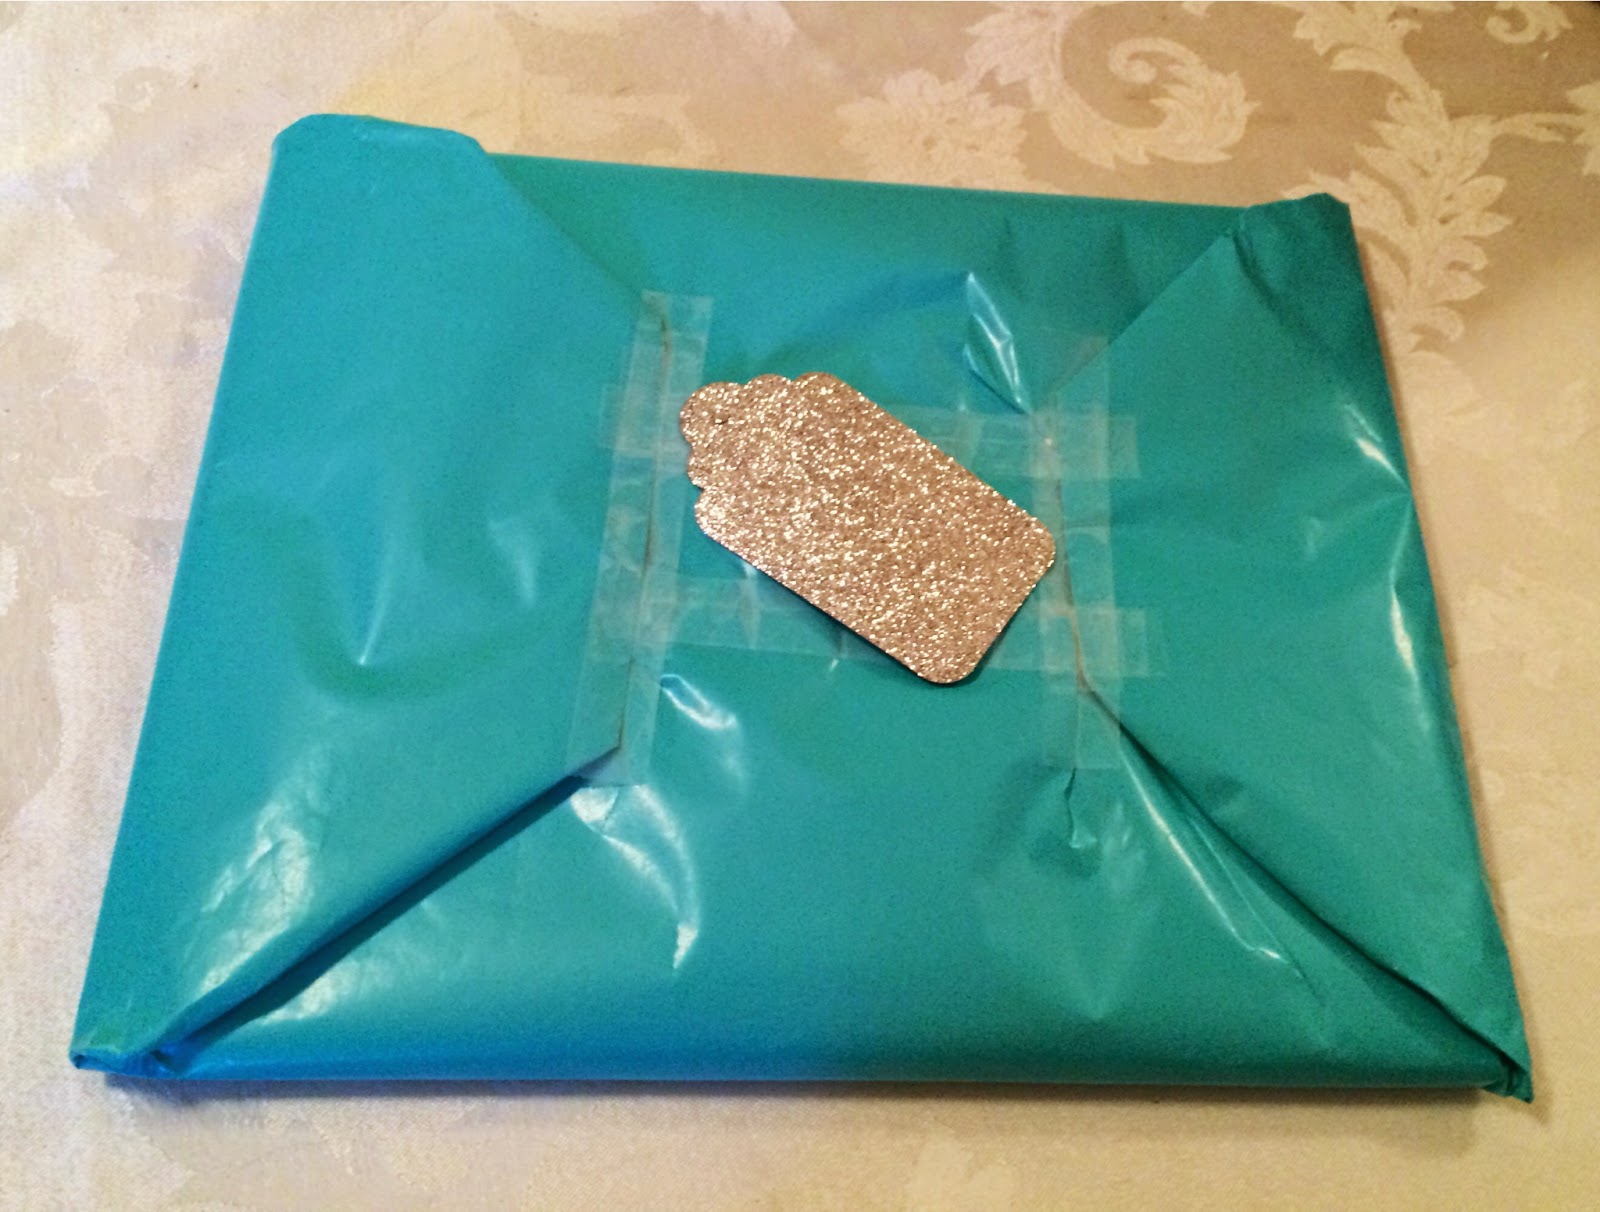
{Enjoy!}
x Paris