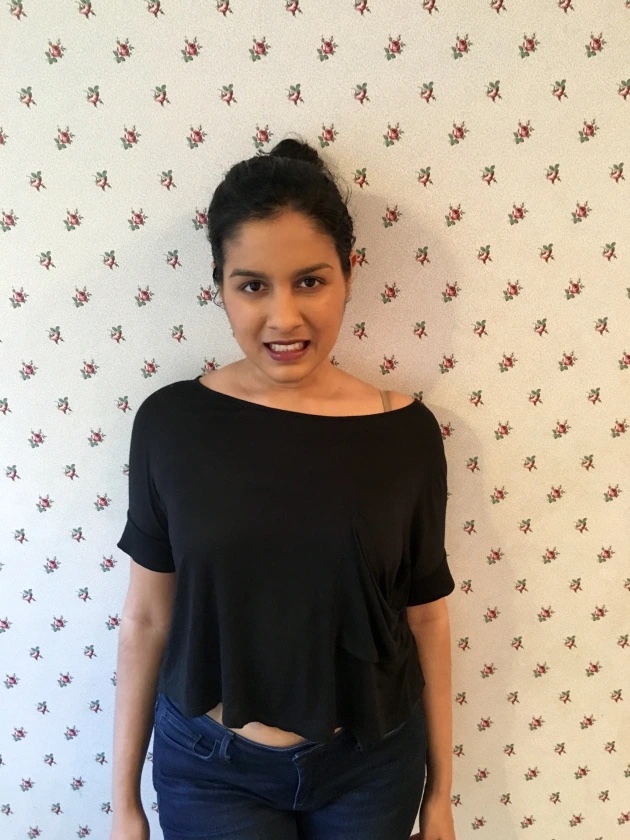
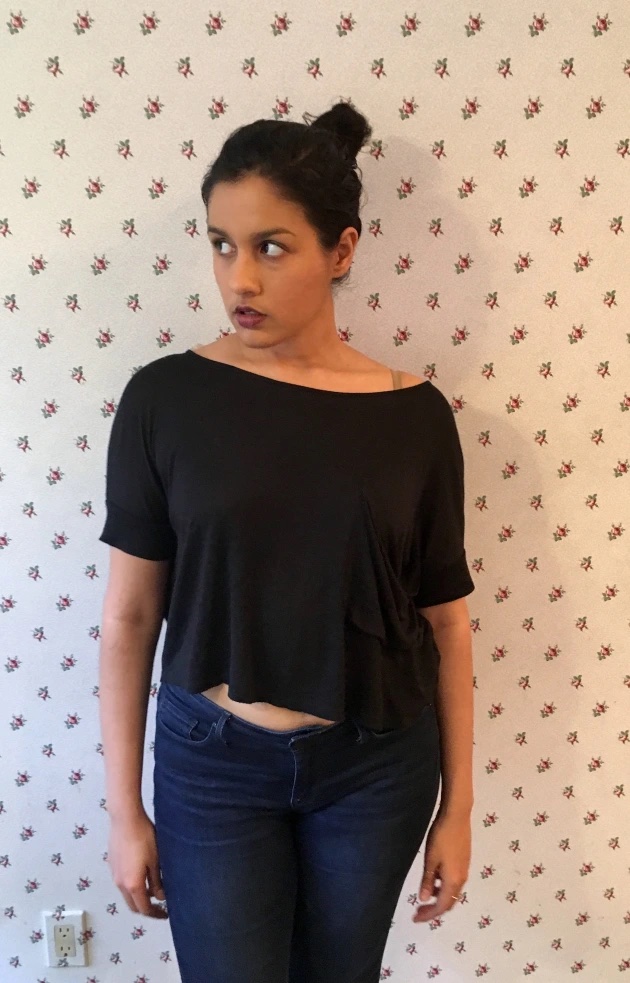
My brows have never been of much concern for me. They are naturally shaped pretty well, which makes tweezing an occasional touch up a rare necessity (aka, I won the brow lottery). But as a former magazine editor, I was gifted a lot of beauty products – one of which changed my brow game completely. A Japonesque brow kit completely transformed my thoughts on my eyebrows. I use brow powders and wax religiously now. And since my brows are already dark, the touch of mascara help make them stand out instantly. My friend, who used to be a make up artist, also taught me to use my foundation all over my face {lips, eyelids, and brow bone included}, to help create an even tone all over my face and to hide any stray brow hairs that need to be tweezed. Paired with plenty of mascara on my lashes, this look allows me to feel pulled together whether I do nothing else to my face {besides a touch of blush} or go all out with a dramatic, smokey eye or dark lip. Here’s a peek at my go-to brow products + my detailed how-to for beautiful brows. I’d love to know, what’s your secret for amazing eyebrows?
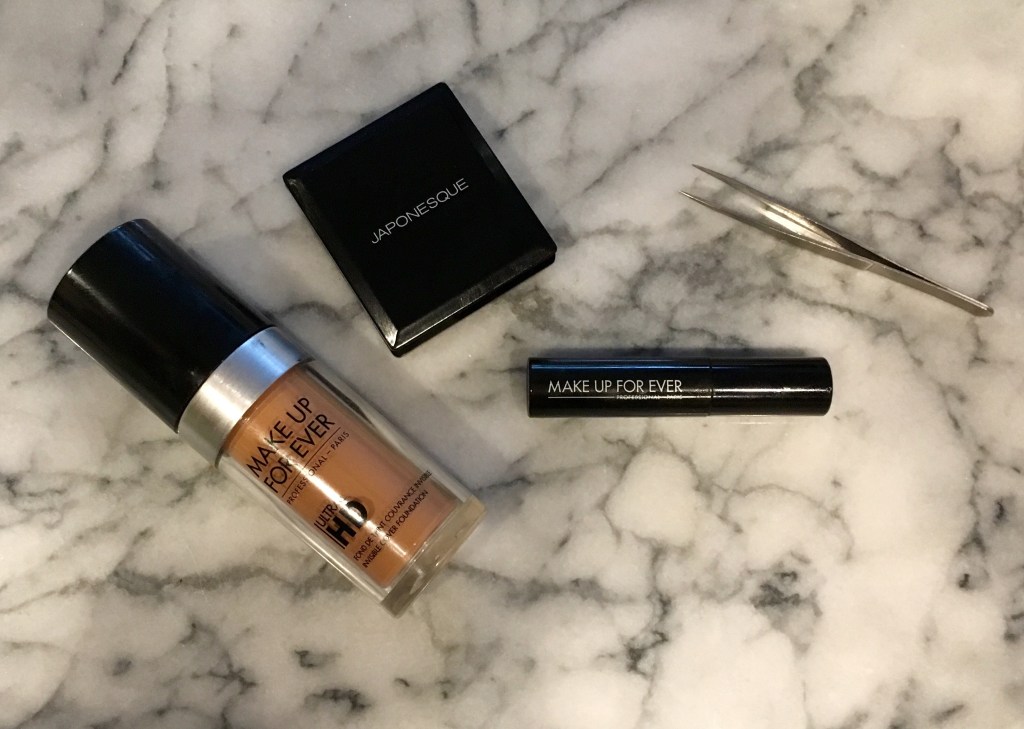
{Tools: Make Up For Ever Foundation & Mascara, Japonesque Brow Kit {similar here}, and Tweezers.}
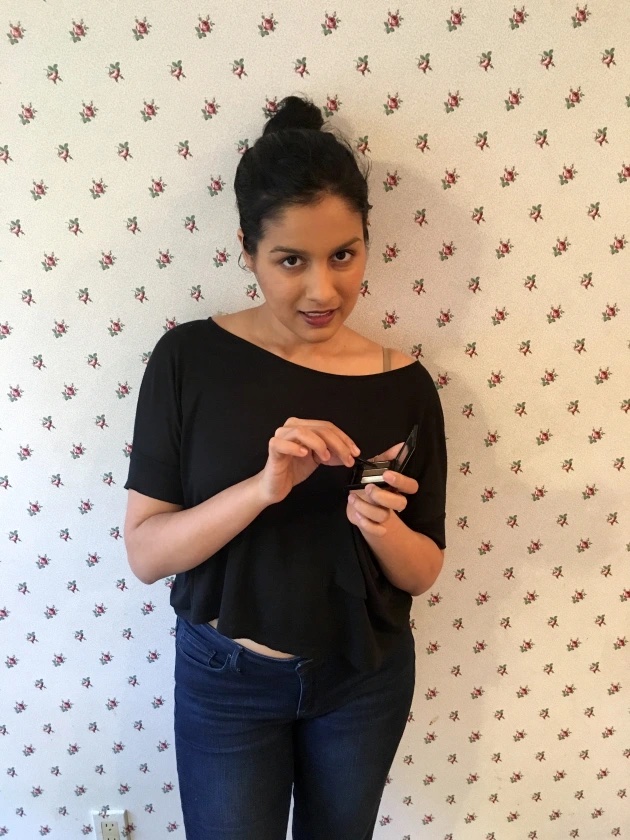
Here’s how to do it:
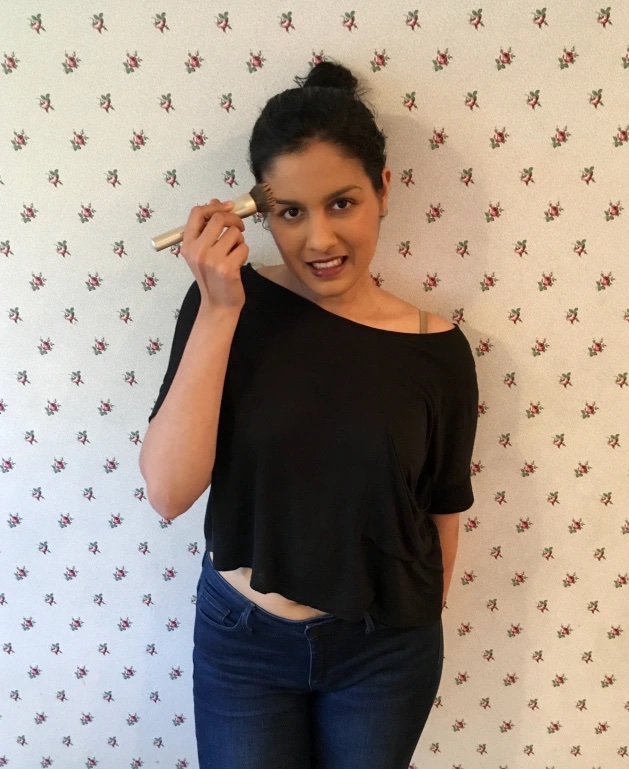
Step 1: Tweeze any stray brow hairs, then apply a thin layer of foundation all over your face, followed by a touch of blush.
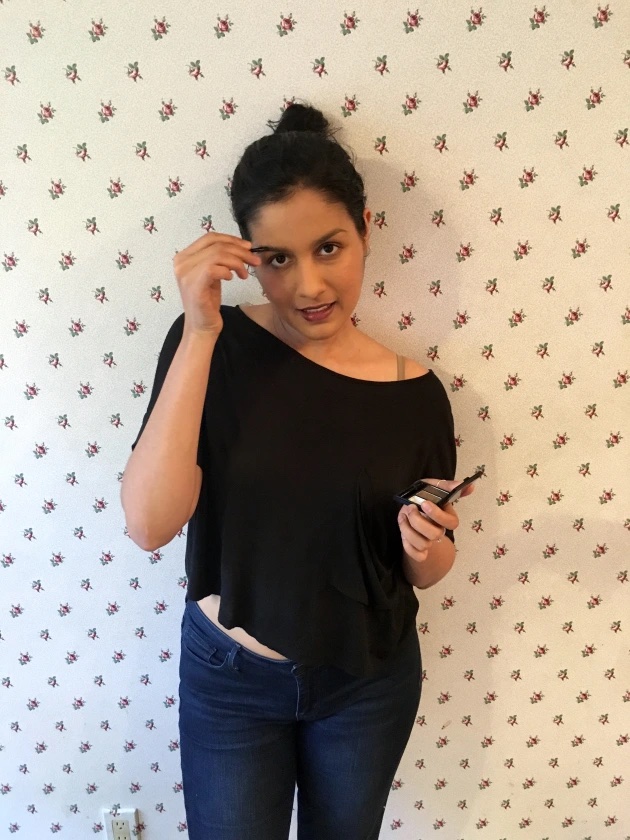
Step 2: Using the brow powders, mix the dark and light colors to highlight your brows.
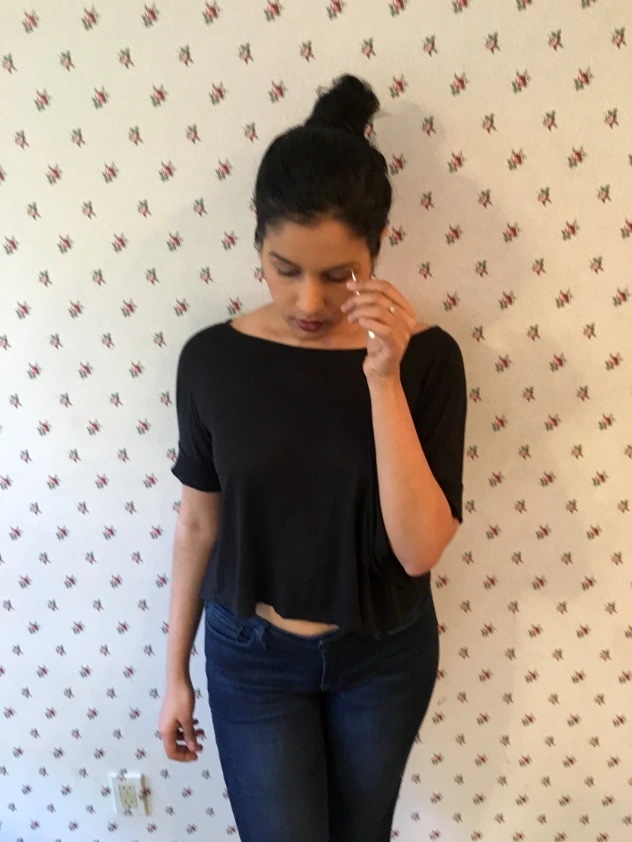
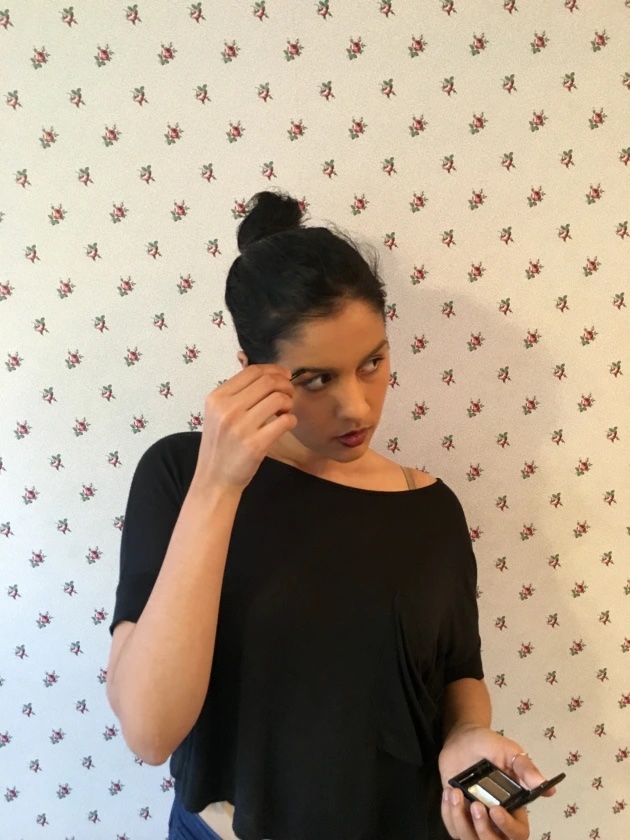
Step 3: Since I have dark brows, I also add a tiny swipe of mascara to help hold down and darken my brows. Then, I finish it off with brow wax.
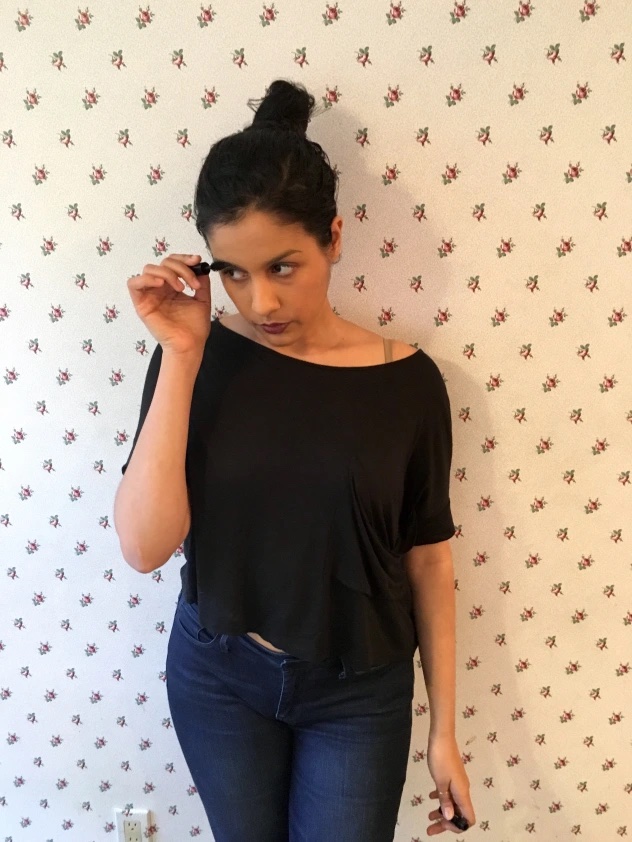
Step 4: Generously add layers of mascara to your eyes to help make them stand out.
Step 5: Use a lipstick/ gloss and any other eye make up you would like.
x Paris