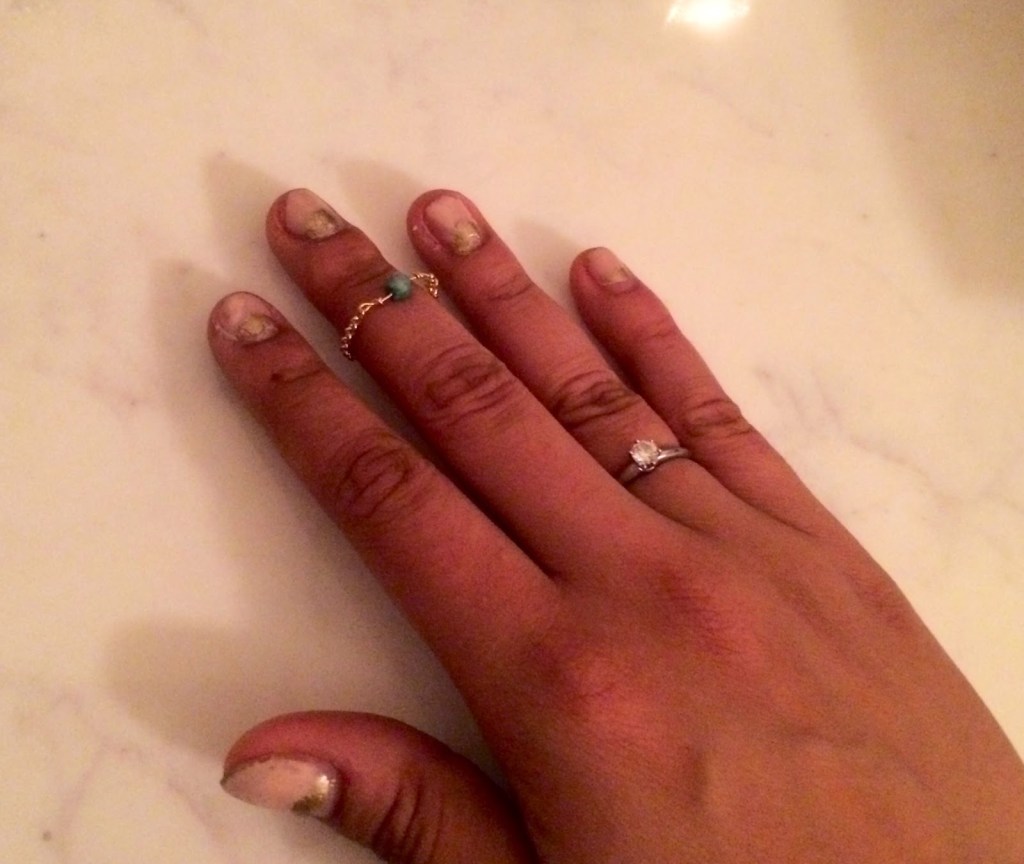
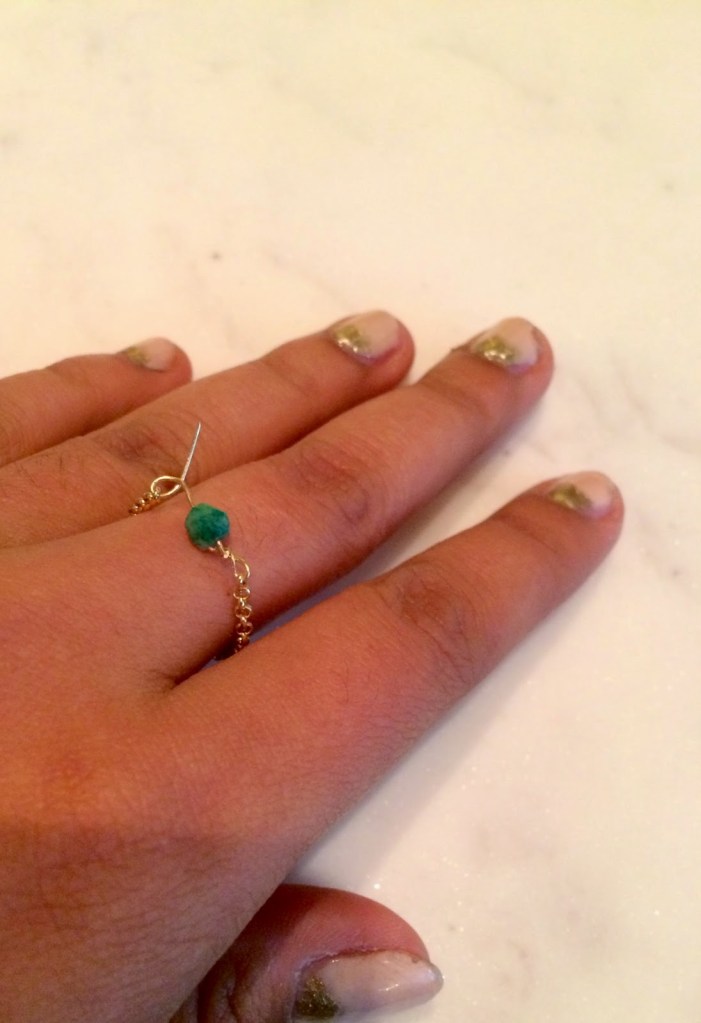
{Delicate Emerald & Gold Chain Ring}
I’m a huge fan of rings, and when I was younger I had an oversized, sparkly cocktail ring on my hand at all times. However, these days I enjoy wearing slightly more delicate jewelry on a daily basis and save my super-sized sparklers for a night out. Since I’m always on the hunt for a whisper thin gold ring {I already have four – two in yellow and two in rose gold}, I decided to try to make a similar style, jeweled ring instead. I made this simple ring/ midi ring with a chain to give it an interesting twist compared to my typical rings + a small emerald for a glimmer of color. The best part is that since emerald is my birthstone, and my birthday is coming up next month, I now have the perfect accessory to wear all month long. x
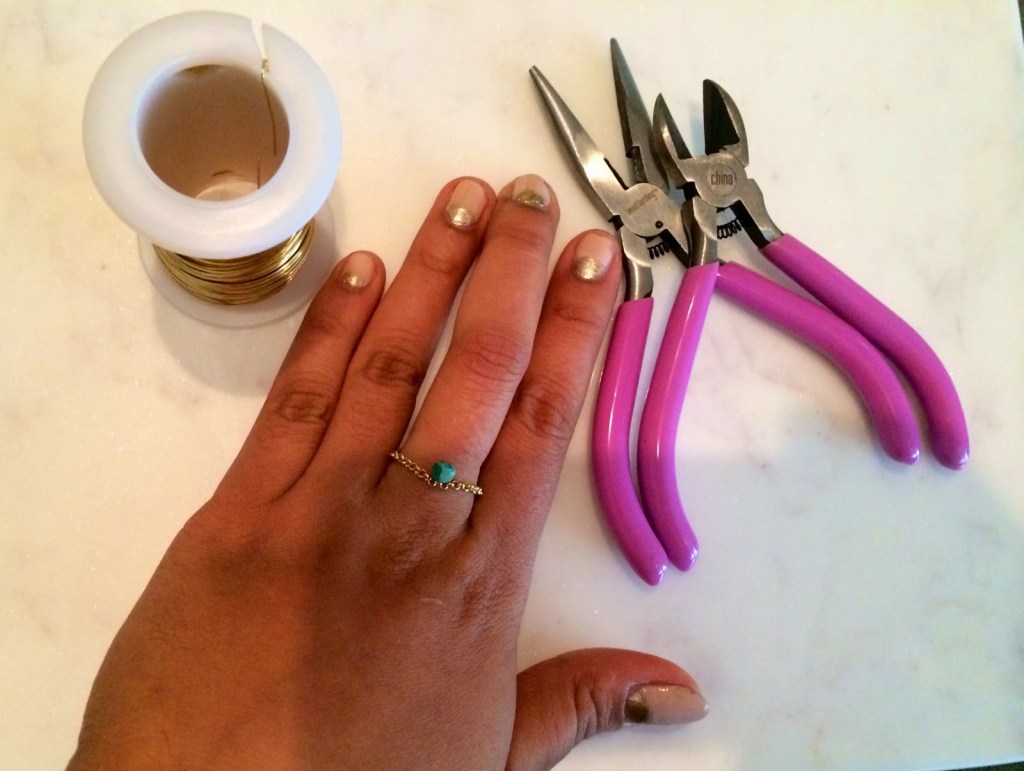
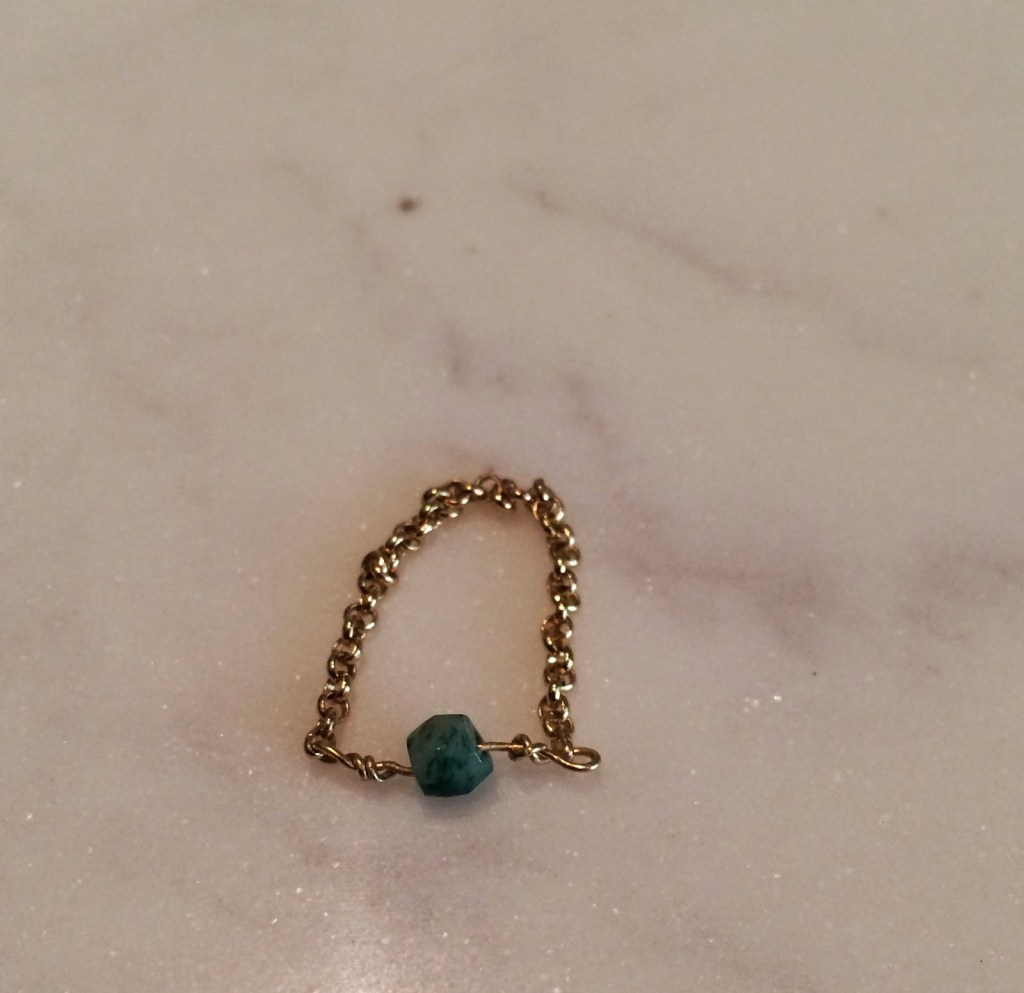
Tools: wire, chain, jewel or bead, round nose plier, and cutter. {You will be able to purchase all of it online or at a local bead store.}
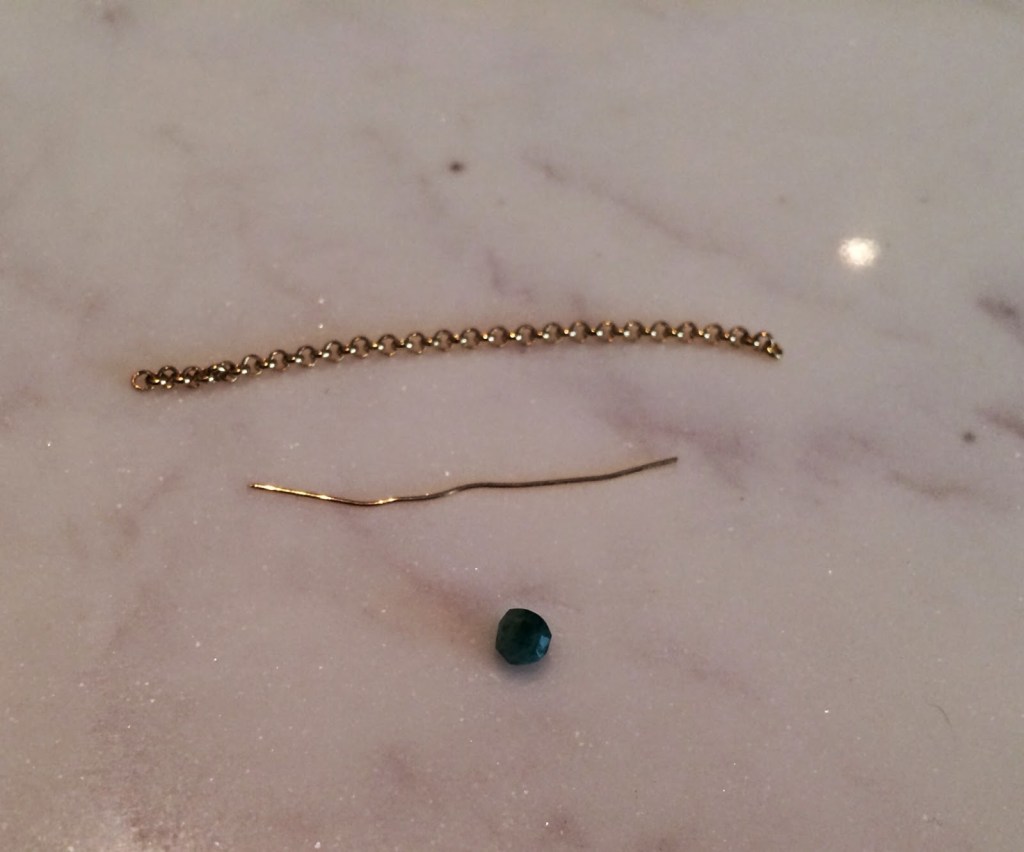
Step 1: Drape the chain over you’re finger and cut it so it just going to wrap around your finger. Then, cut a small piece of wire – I cut about one inch, so there was plenty of excess wire for wire wrapping.
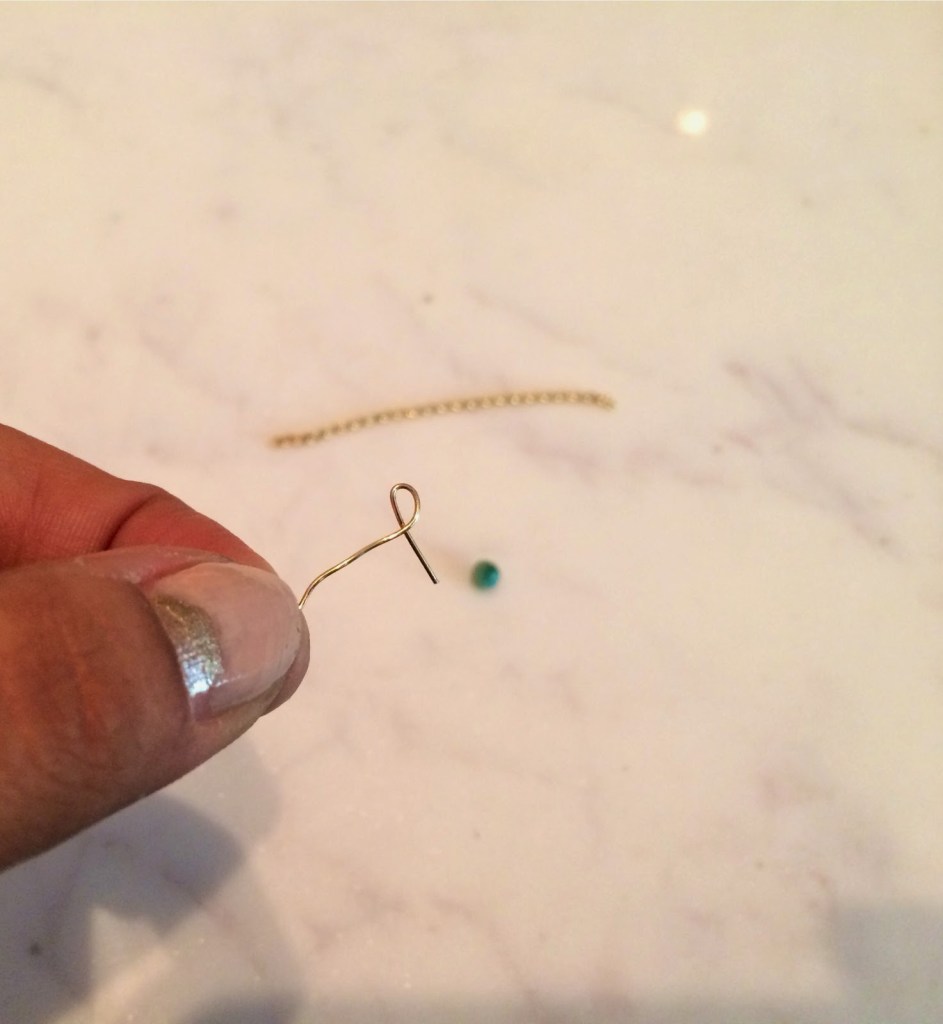
Step 2: Create a loop on one end of the wire, using the round nose plier. Then slip one end of the chain inside the loop and wire wrap the end. Cut of any excess from the tip of the wire after it’s been wrapped tight.

Step 3: Slip your gem or bead through the wire. I used an emerald here.
Step 4: Repeat Step 2 here, creating another loop on the other end of the wire. Then slip the other end of the chain through that loop, wire wrap, and cut of any excess.
Step 5: Enjoy your new delicate chain ring!
x Paris