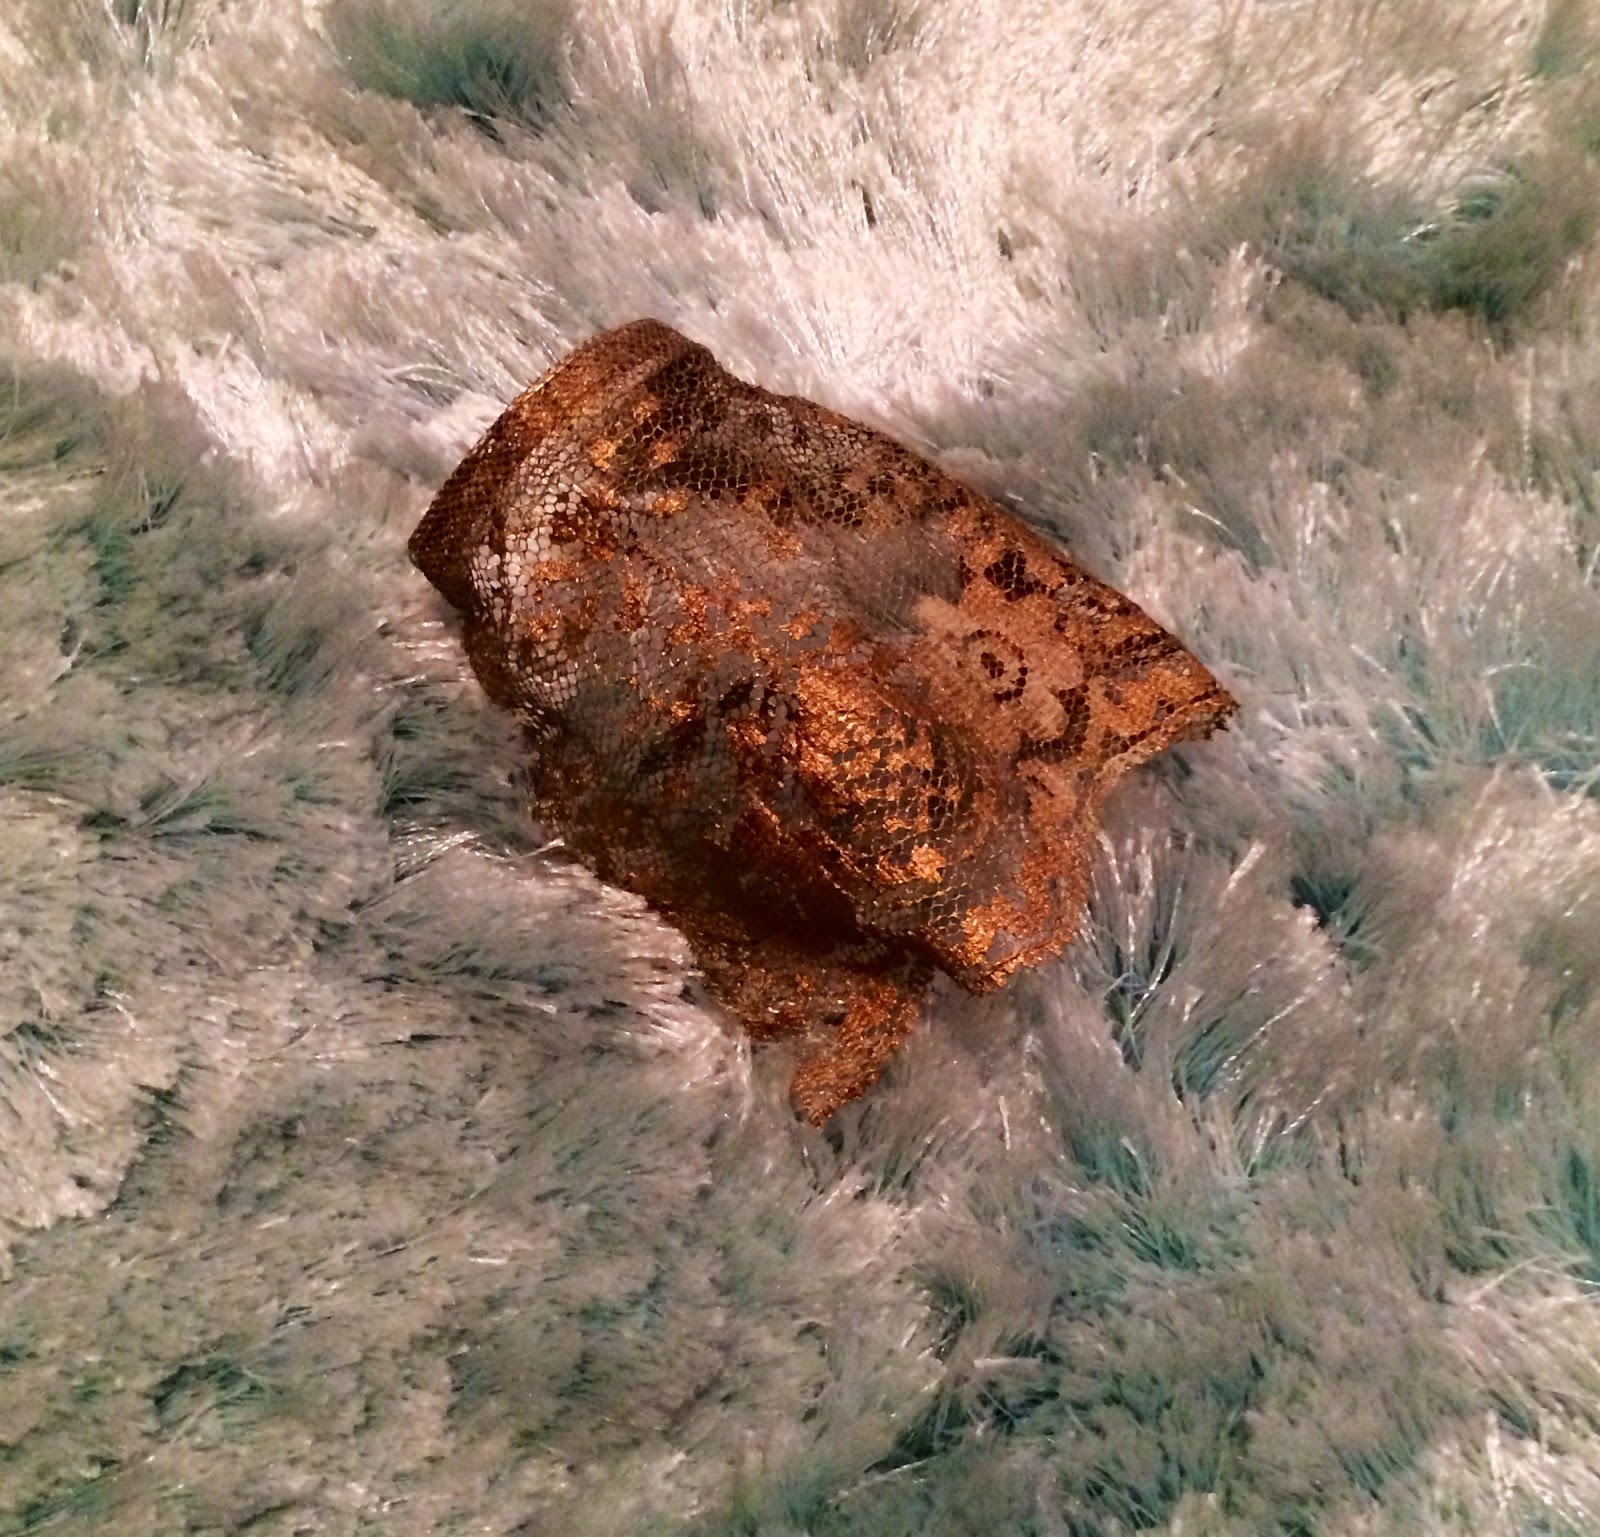
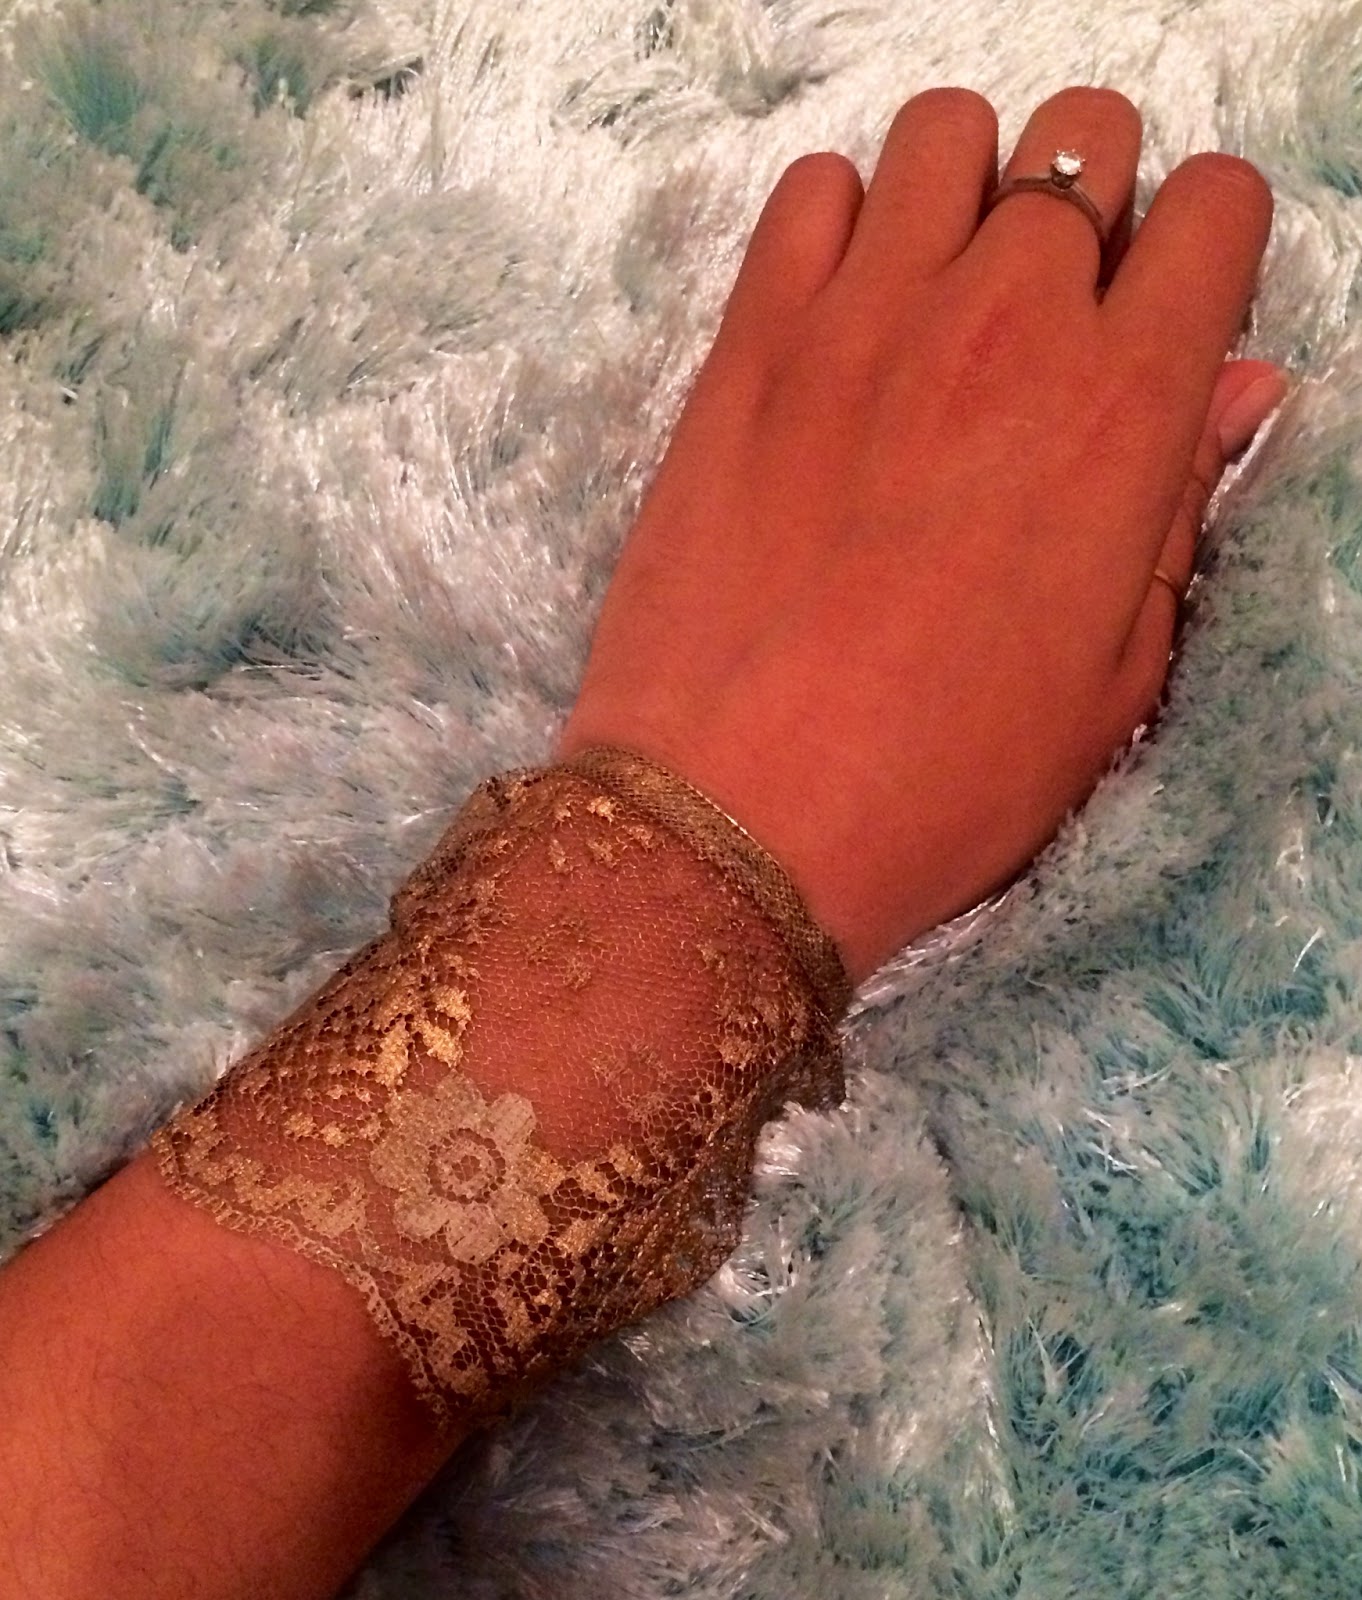
While I am ready to wear something lacy year round, there’s something about the holiday season that makes lace feel like a necessity. Since I already own one to many lace dresses, I decided to try my hand at making a classic gold lace cuff recently. I love that I can wear this with jeans and a tee shirt or dress it up in a date night dress. And since it is so simple to make, I plan to be making ones in different colors like silver and rose gold to give as gifts for all my girl friends.
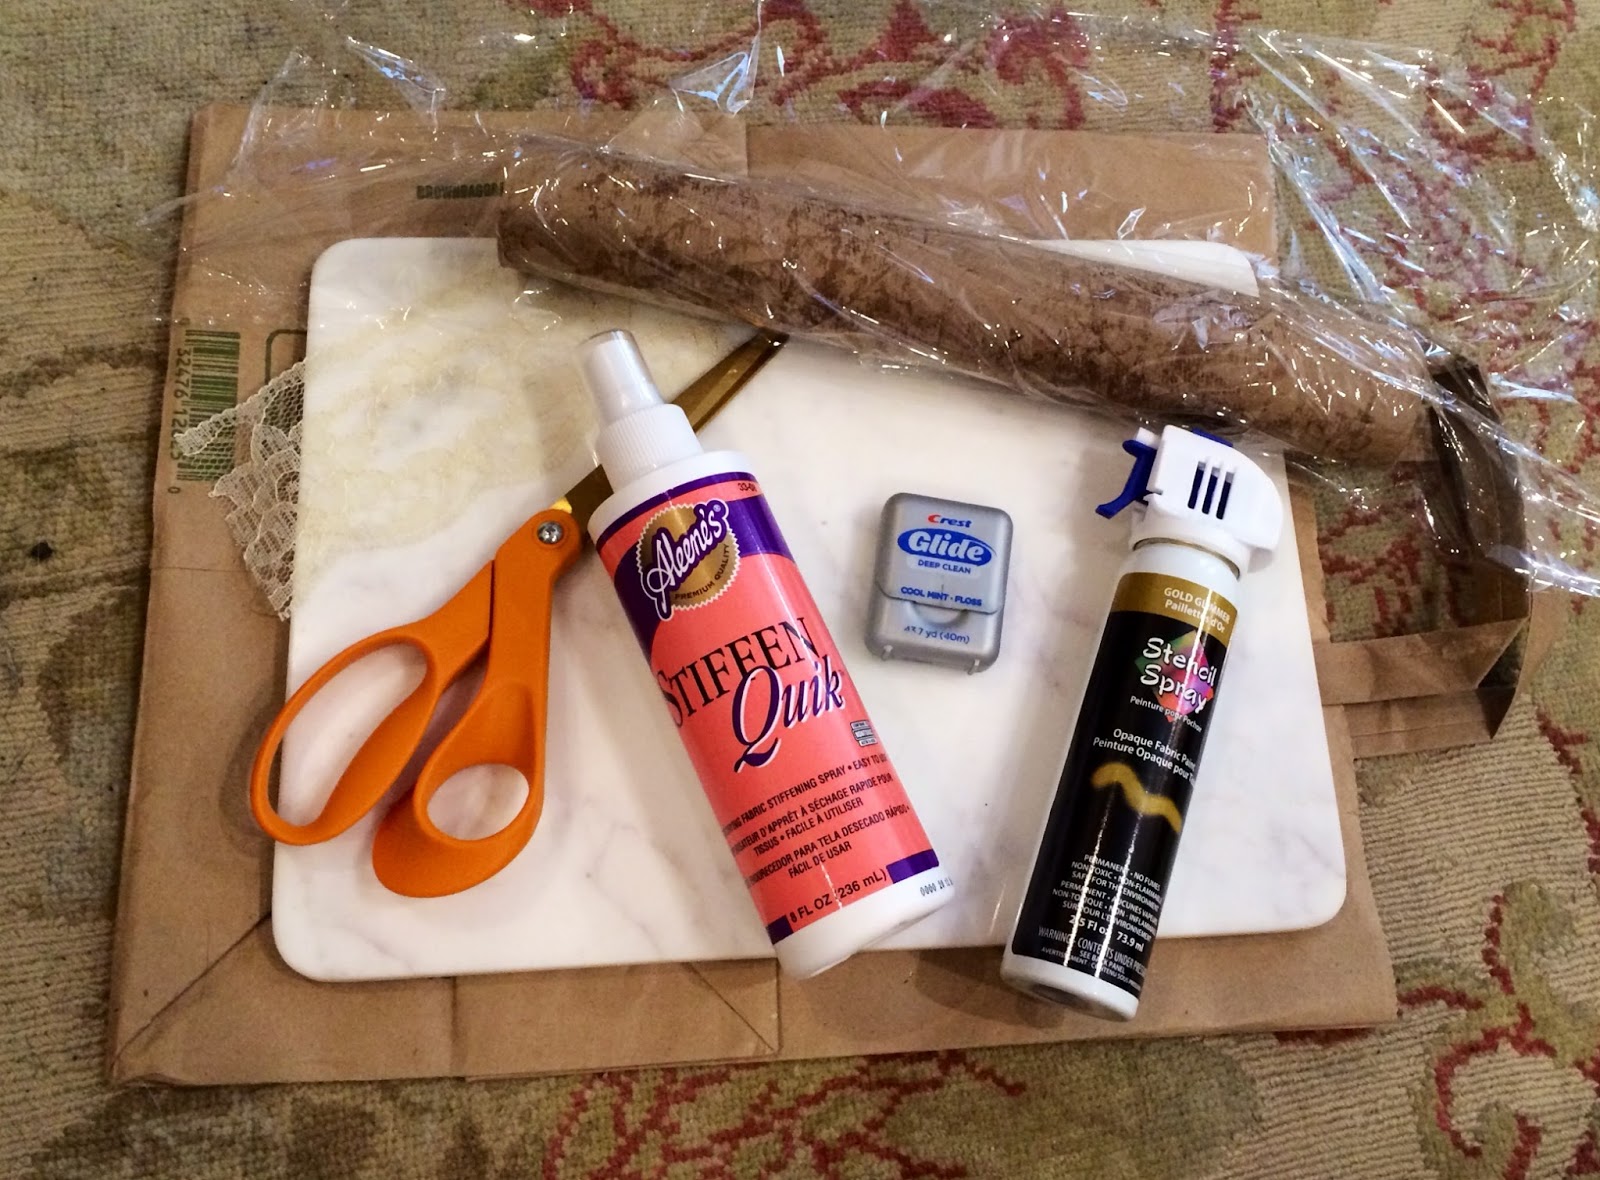
Tools: Base of a kitchen towel roll, paper bags, cling film, floss, lace, fabric stiffening spray, fabric color spray, scissors, jewelry wire, jump ring + lobster clasp.

How to Do it:
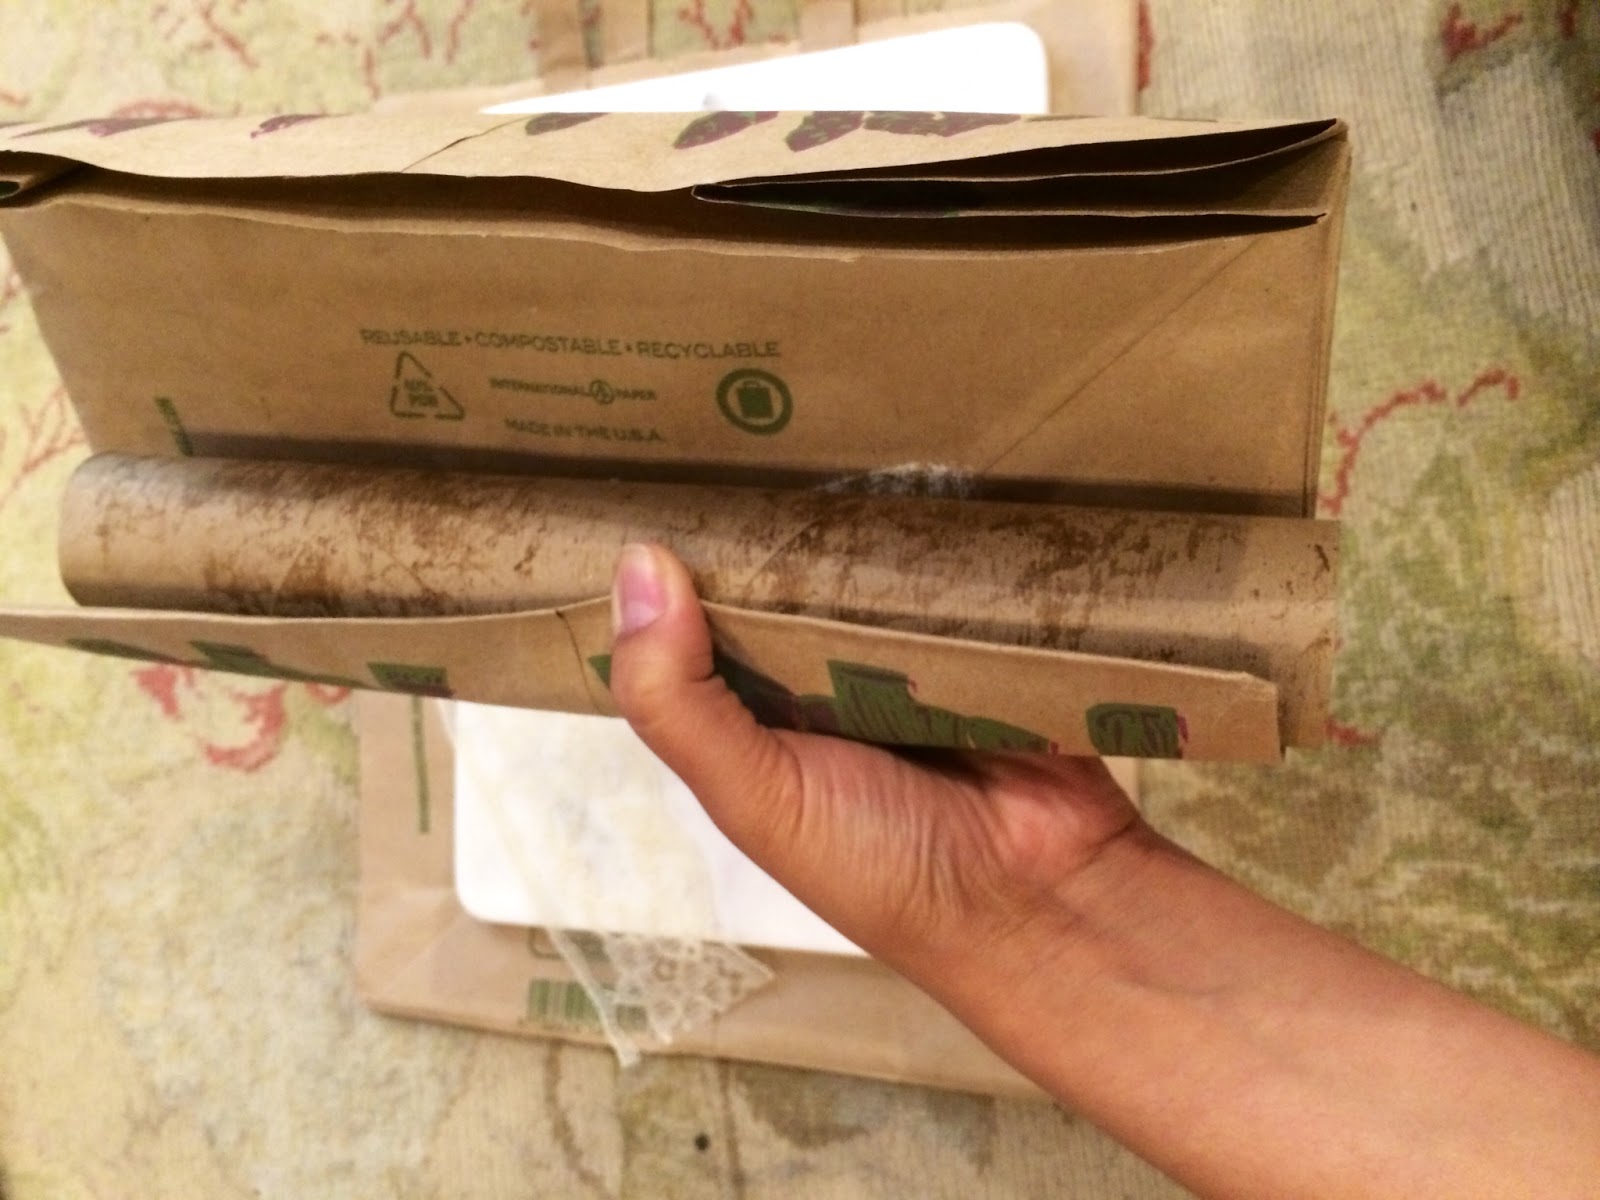
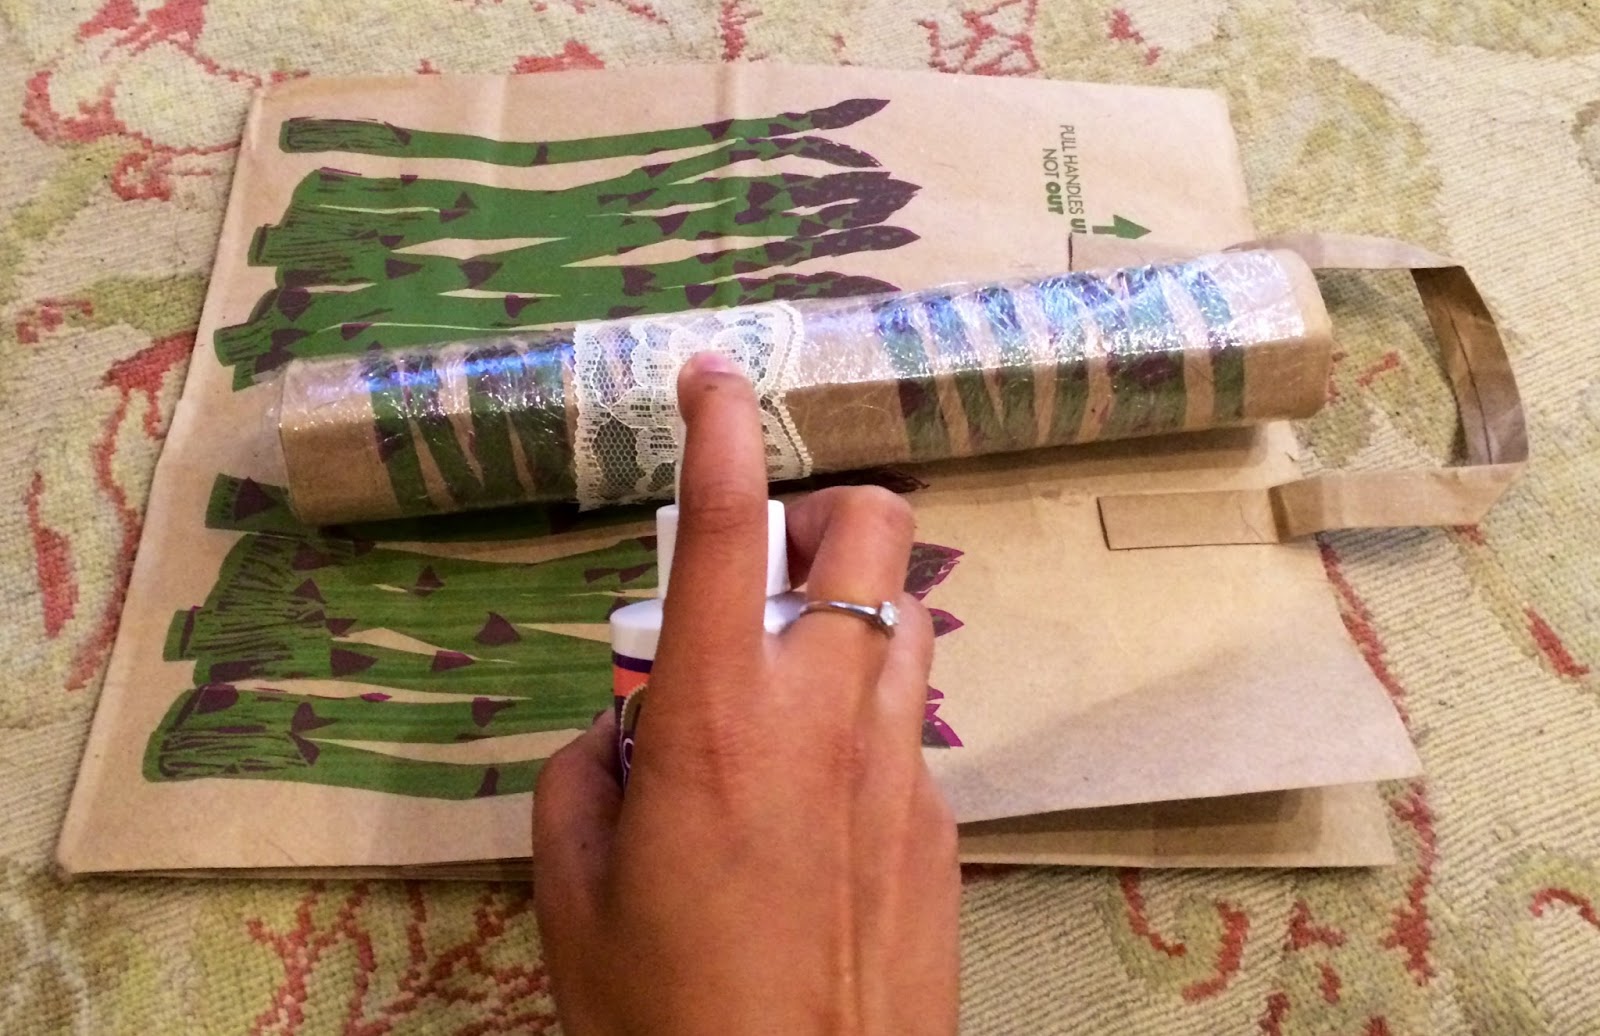
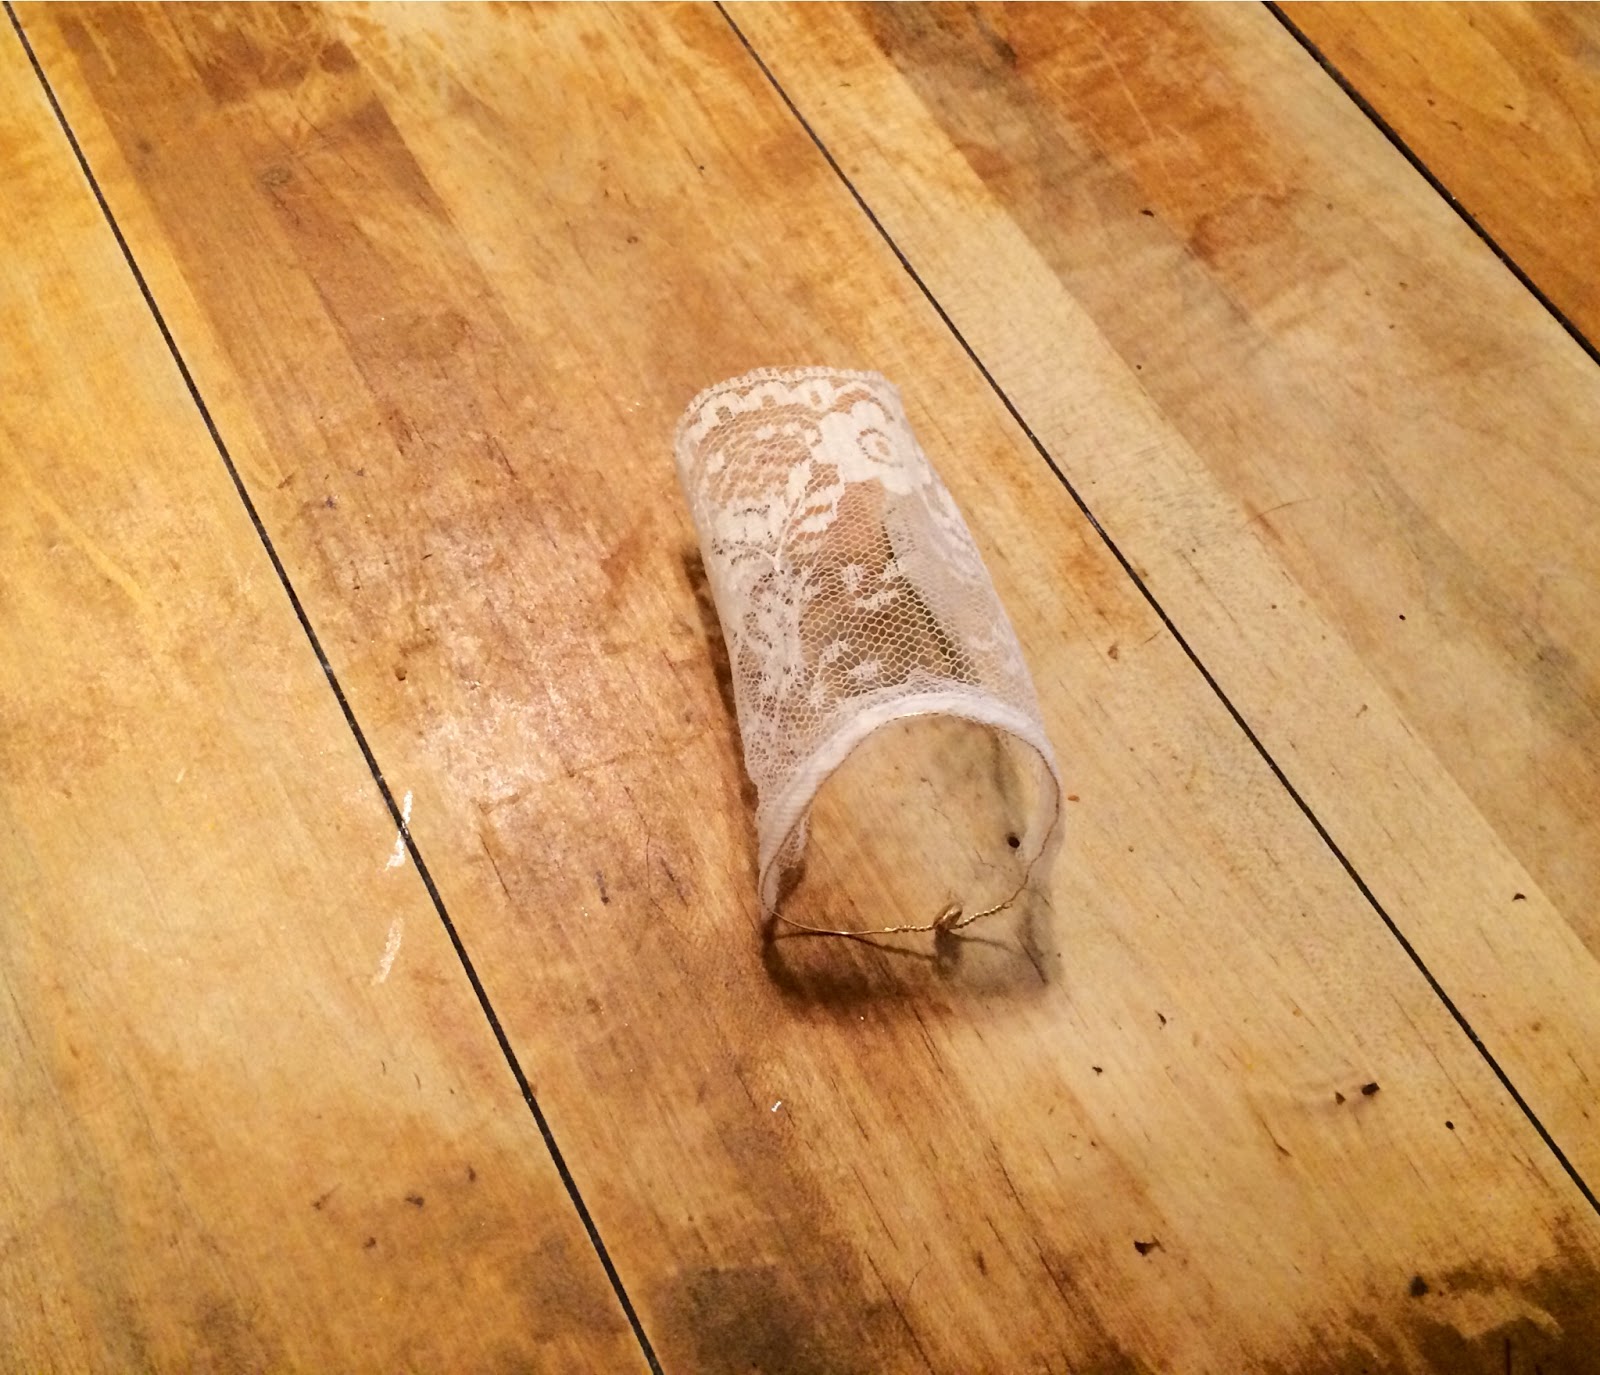
Step 1: Wrap the base of a kitchen towel roll with a paper bag to thicken it’s size to fit your wrist.
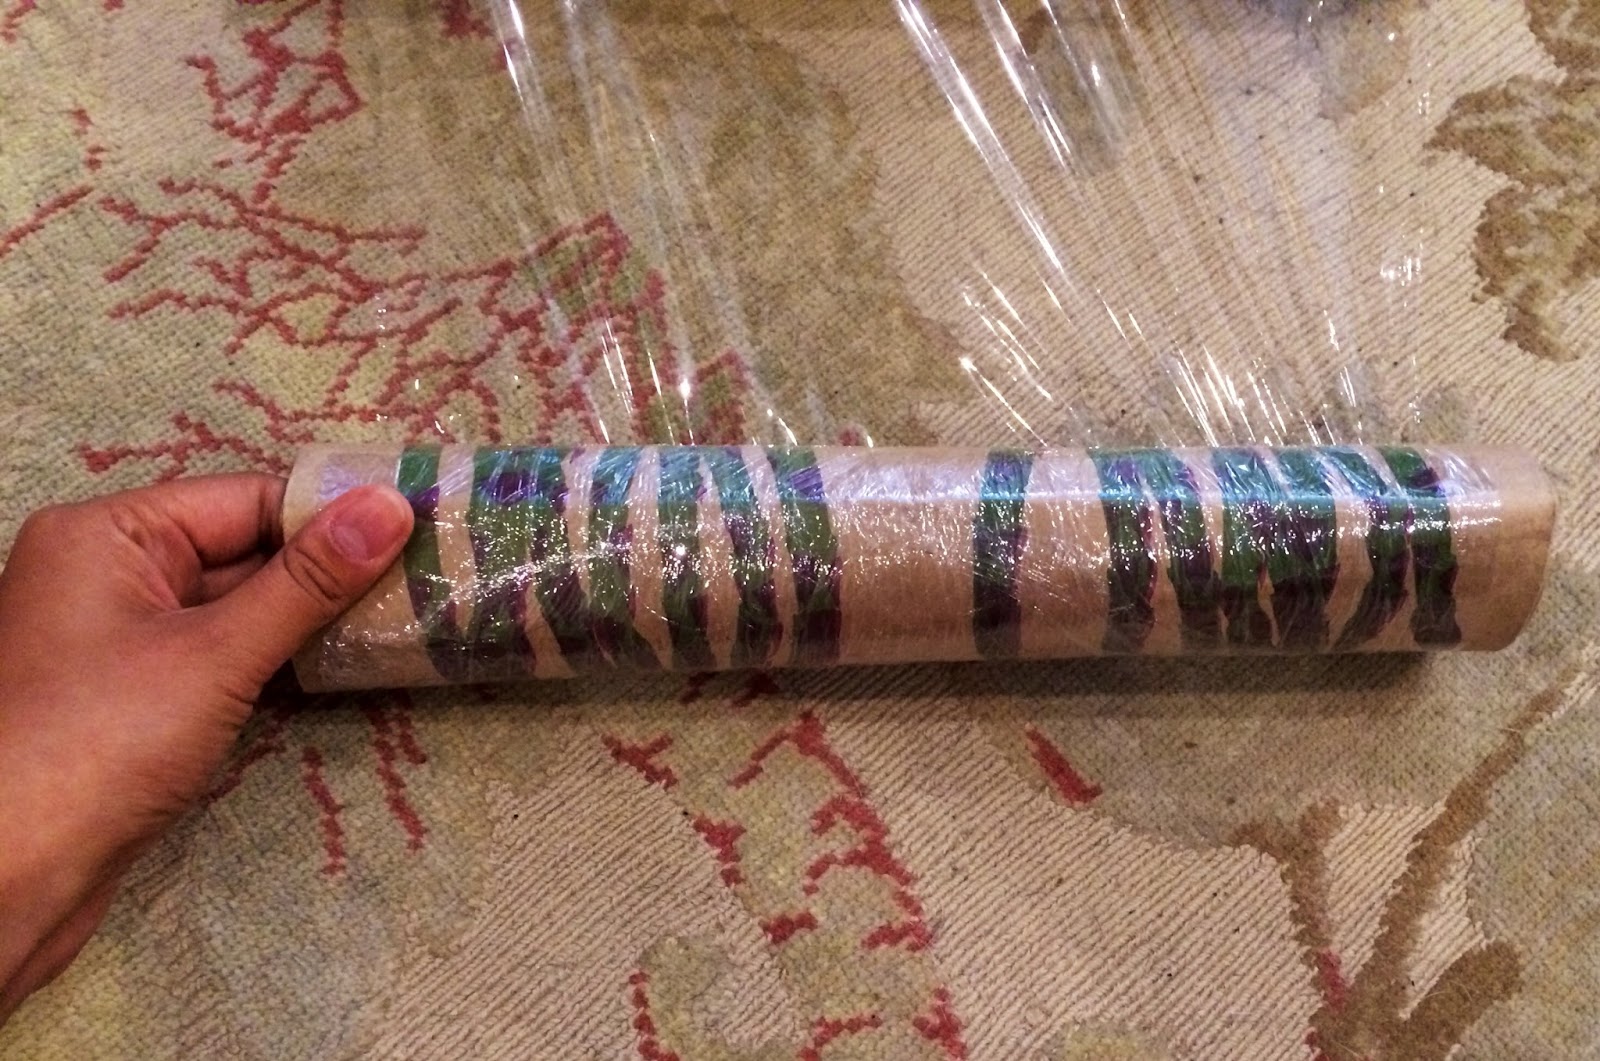
Step 2: Wrap cling film over the mold.
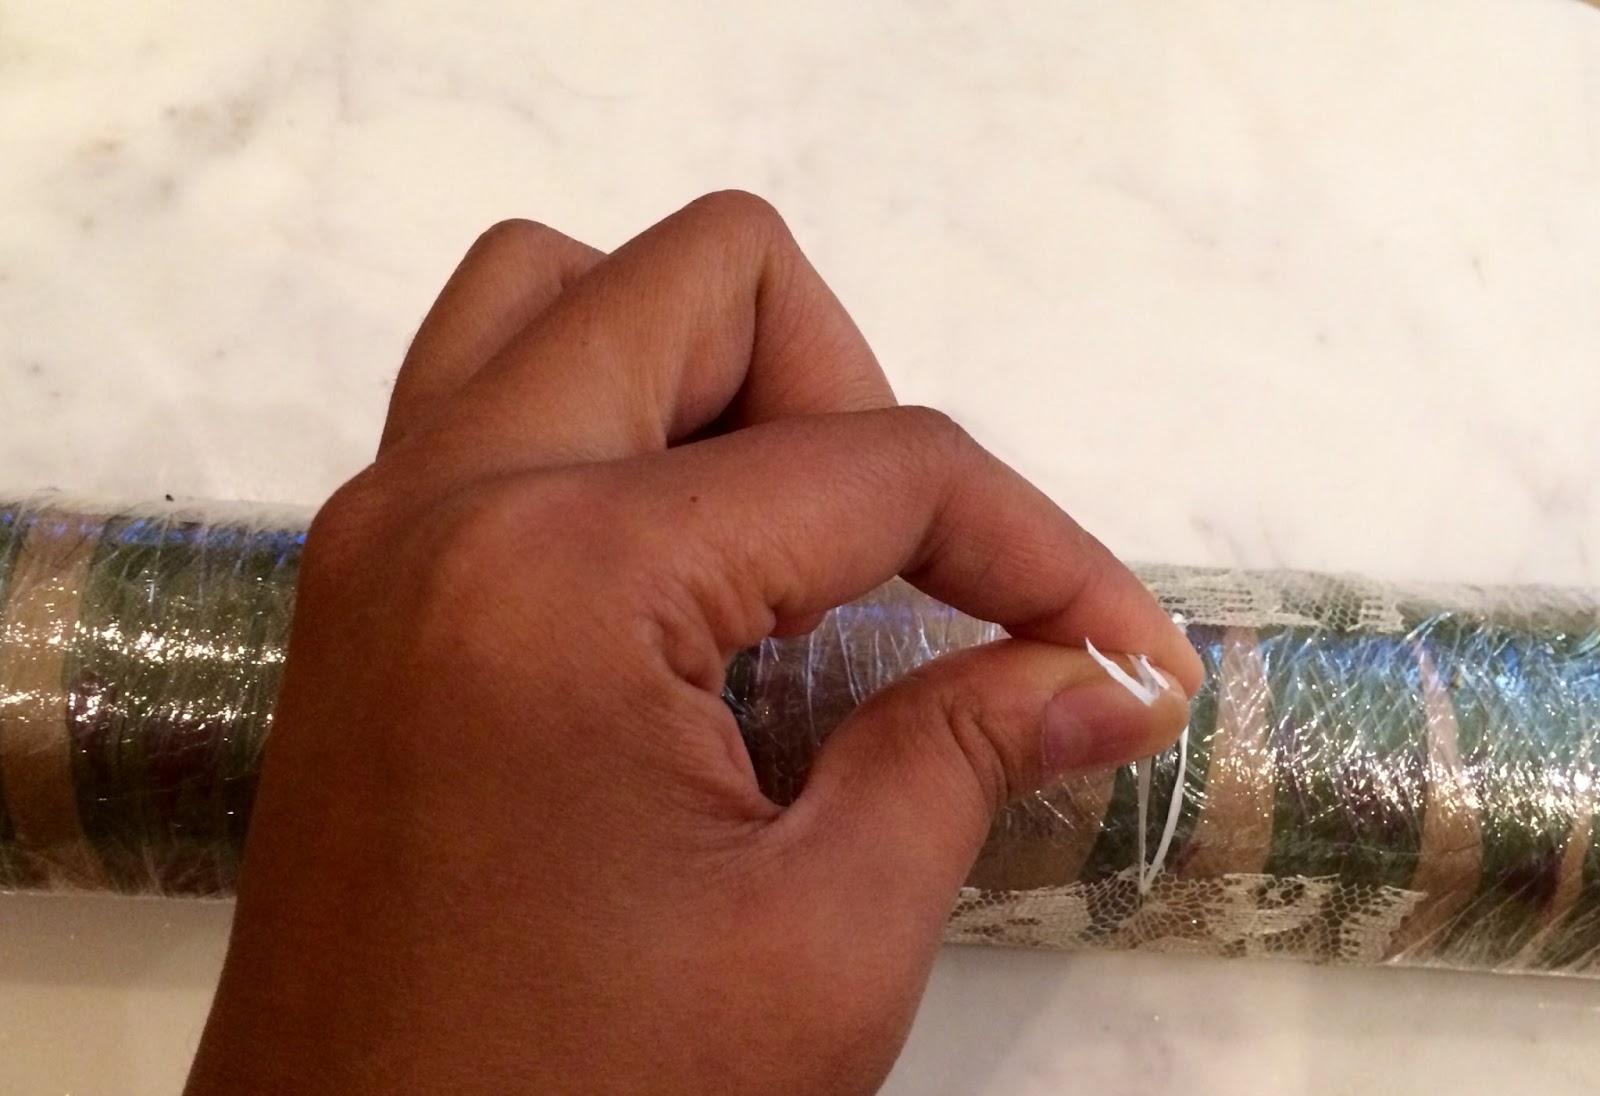
Step 3: Tie the lace with a piece of floss around the mold.
Step 4: Spritz the lace with a fabric stiffening spray to help it keep shape. Let it set overnight.
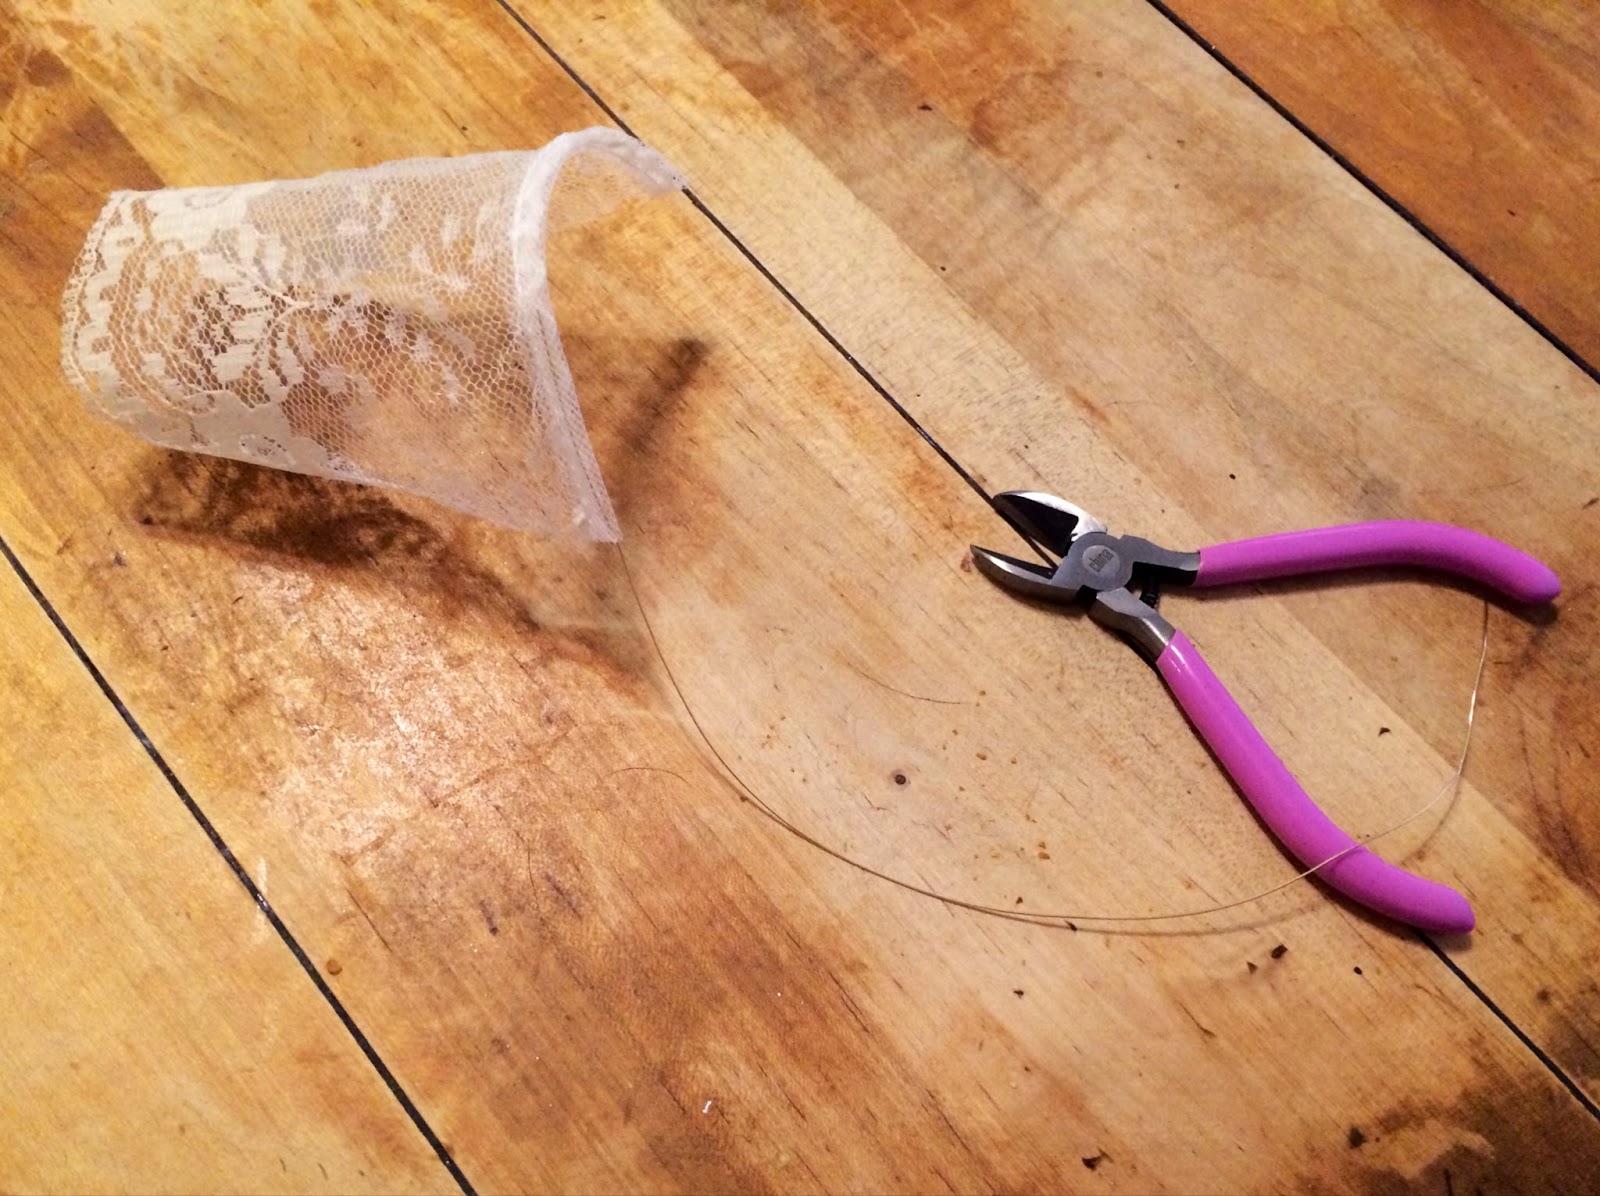
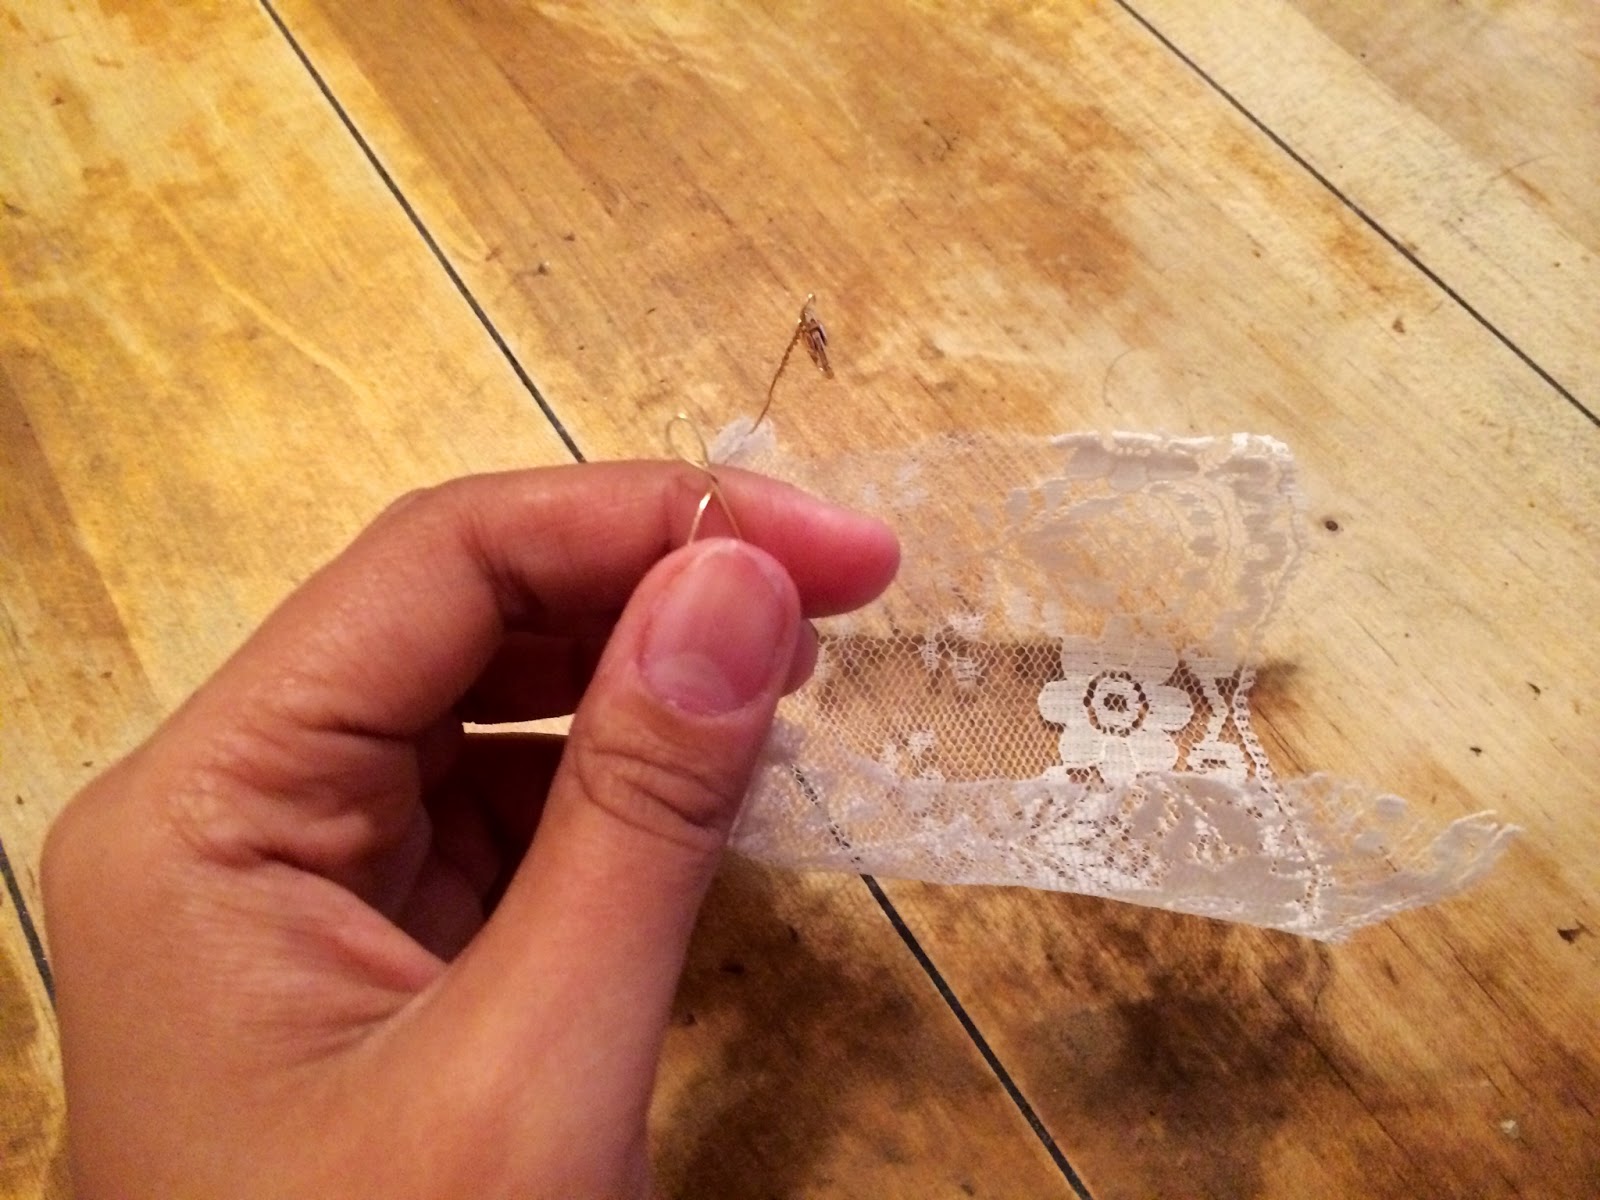
Step 5: Cut a piece of jewelry wire to be just a little larger than your wrist and put it through the inside loop of the lace.
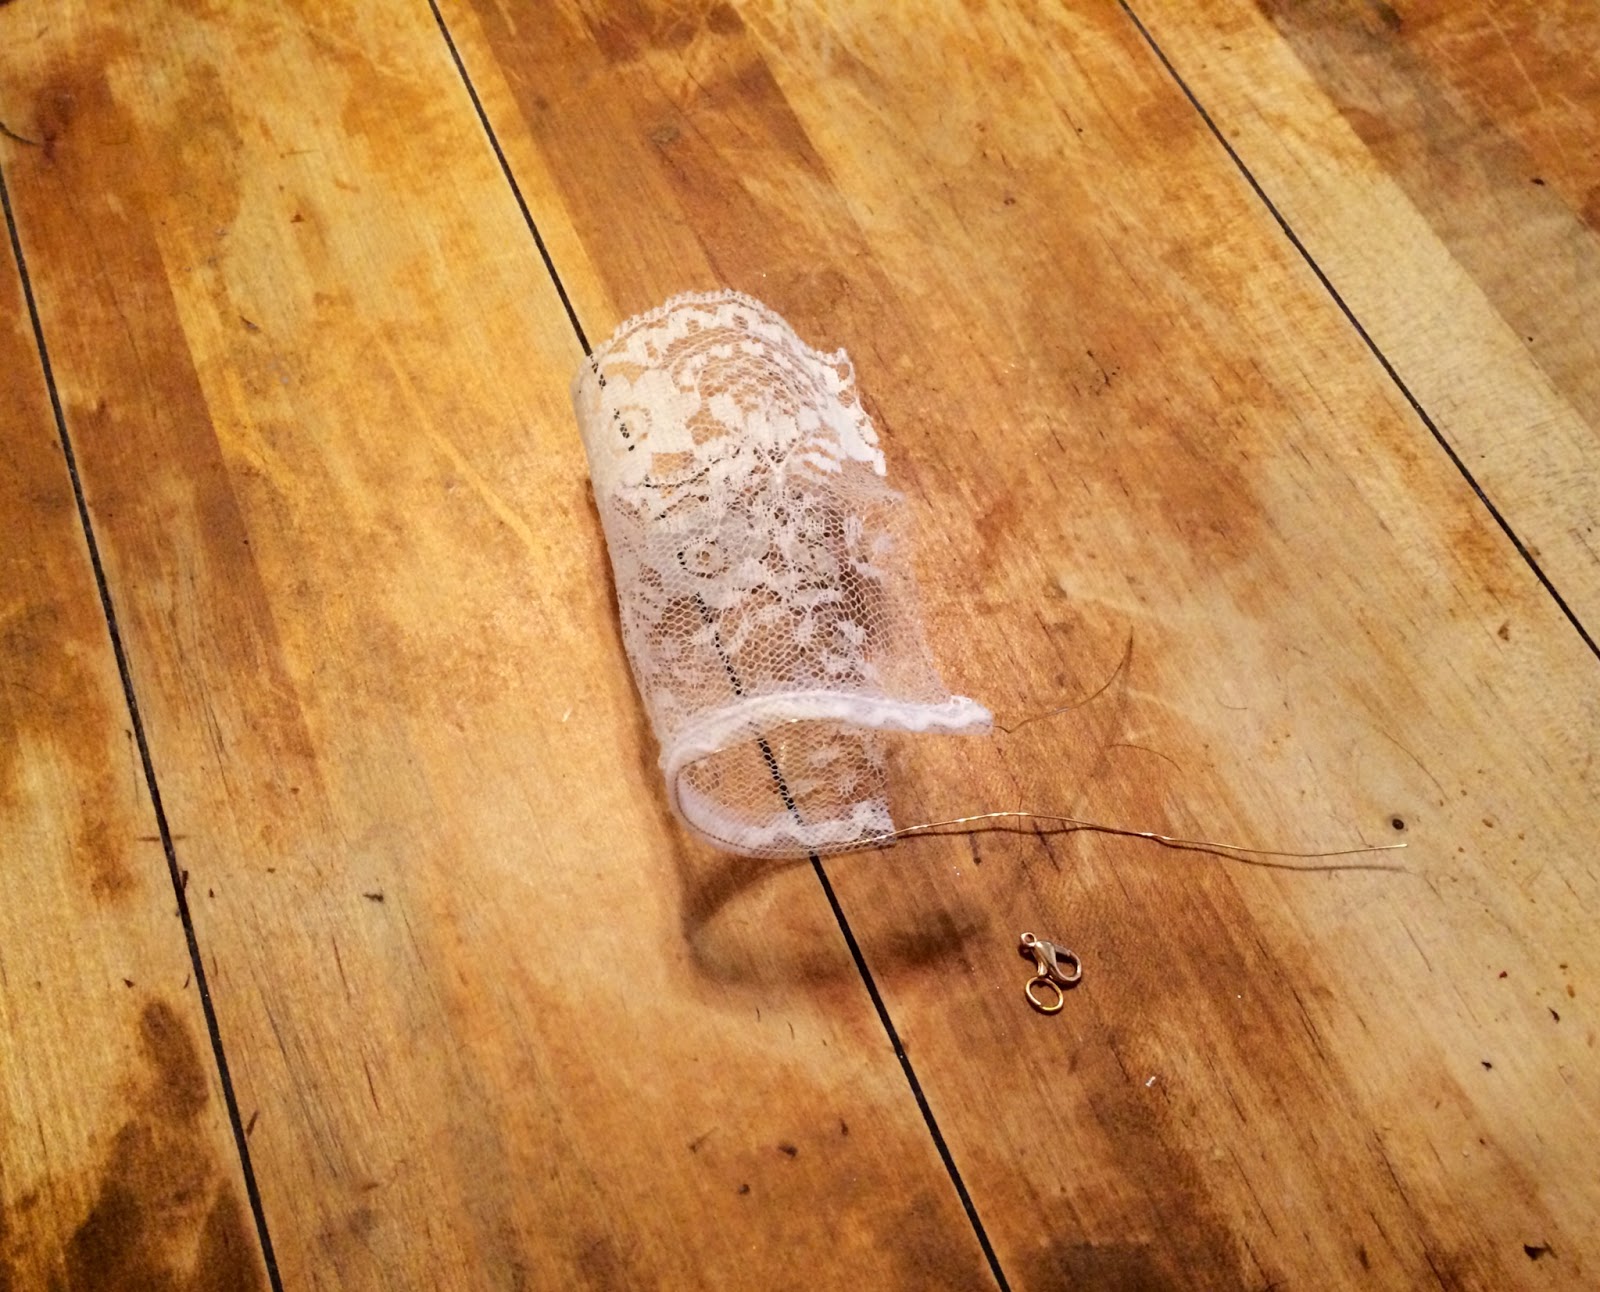
Step 6: Add a lobster clasp and jump ring to each end of the wire.
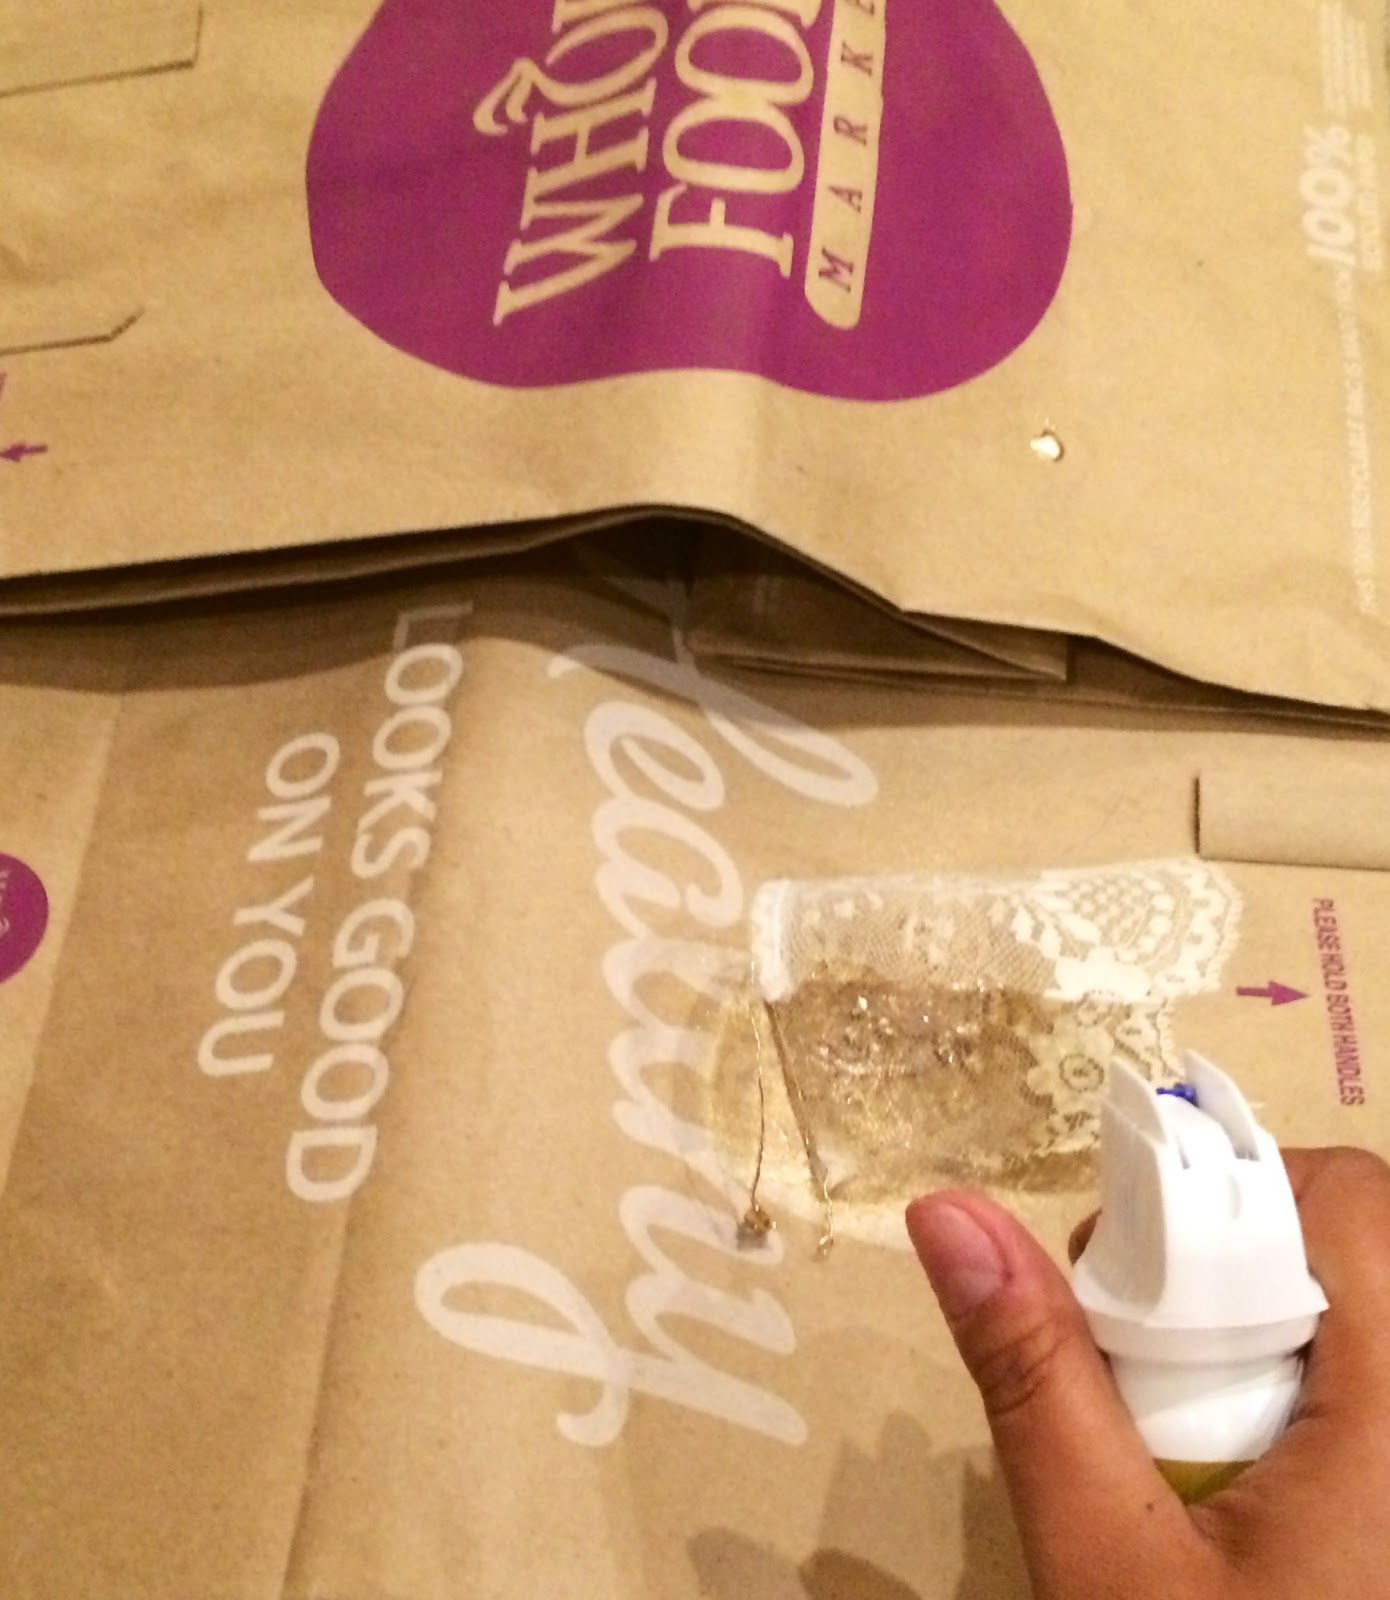
Step 7: Spray the cuff with a fabric spray in the color of your choice.
Step 8: Enjoy!
x Paris