One of my favorite parts about working for a magazine with an annual bridal issue was our twice-a-year photo shoots. We would dress up our models in the prettiest of wedding gowns, accessorize them with the sparkliest baubles and Cinderella-like heels, and of course, have them hold the prettiest of bouquets donated by local florists. Even though the photo shoot was far from being as glamorous as it sounded {hello, 15 hour days of steaming dresses, spritzing flowers, plenty of neon orange dress clamps placed down the back of the layers of tulle to fit the dresses on the brides, and making sure none of the wedding dresses ever touched the ground}, at the end of the night we were all gifted a bouquet of flowers. It made our house feel just a little prettier for a couple weeks, having these elaborate and intricate bouquets as the focal point of the room. It’s been several years since my last photo shoot, but I still yearn for the beautiful flowers. I decided to try my hand at designing my own bouquet about a year after I stopped working those bridal shoots and have continued the tradition ever since. Every year, even before {or right after} spring has sprung, I find myself playing the role of florist and making my own pretty spring bouquet. And while it far from being as elaborate as the bouquets I would bring home, it still adds just the right amount of pretty to our home and makes me nostalgic for those long hours during our bonding bridal photo shoots. I hope this tradition – and my tips – help inspire you to create your own floral bouquet!
What All You Need:
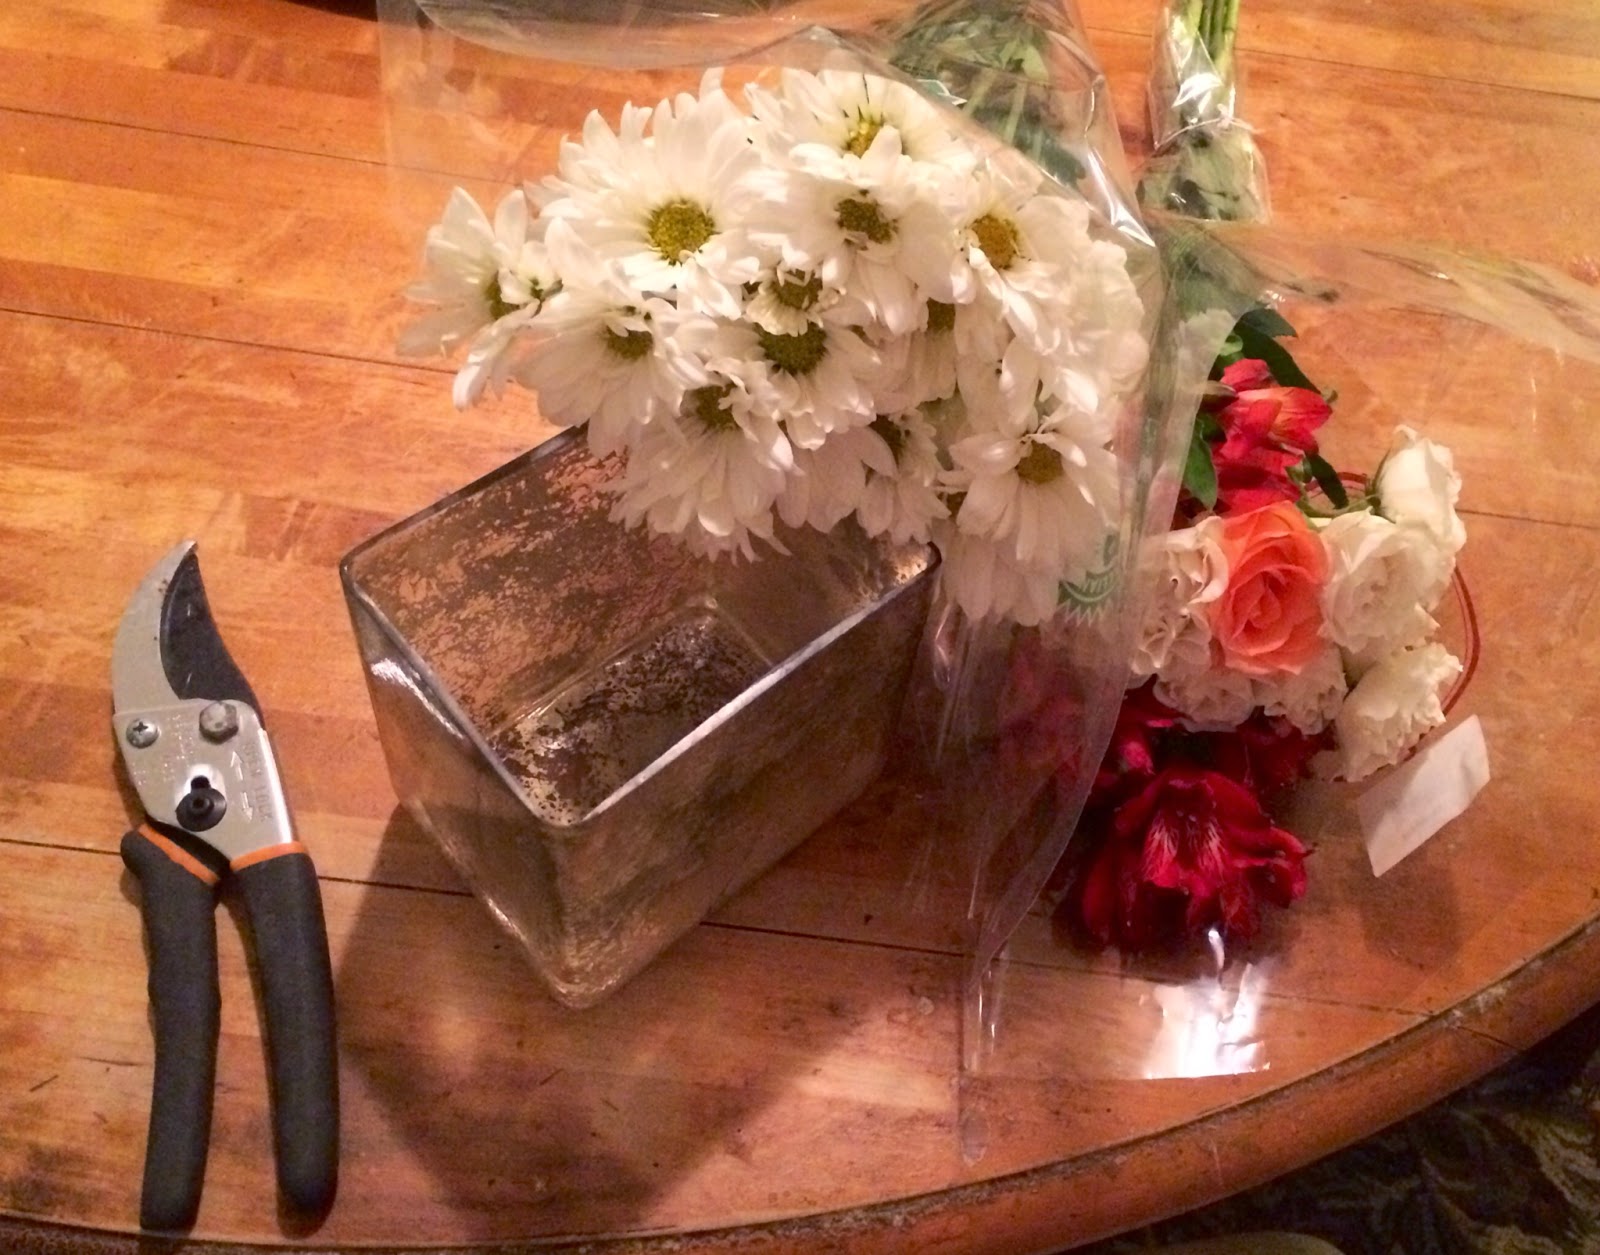
A Vase
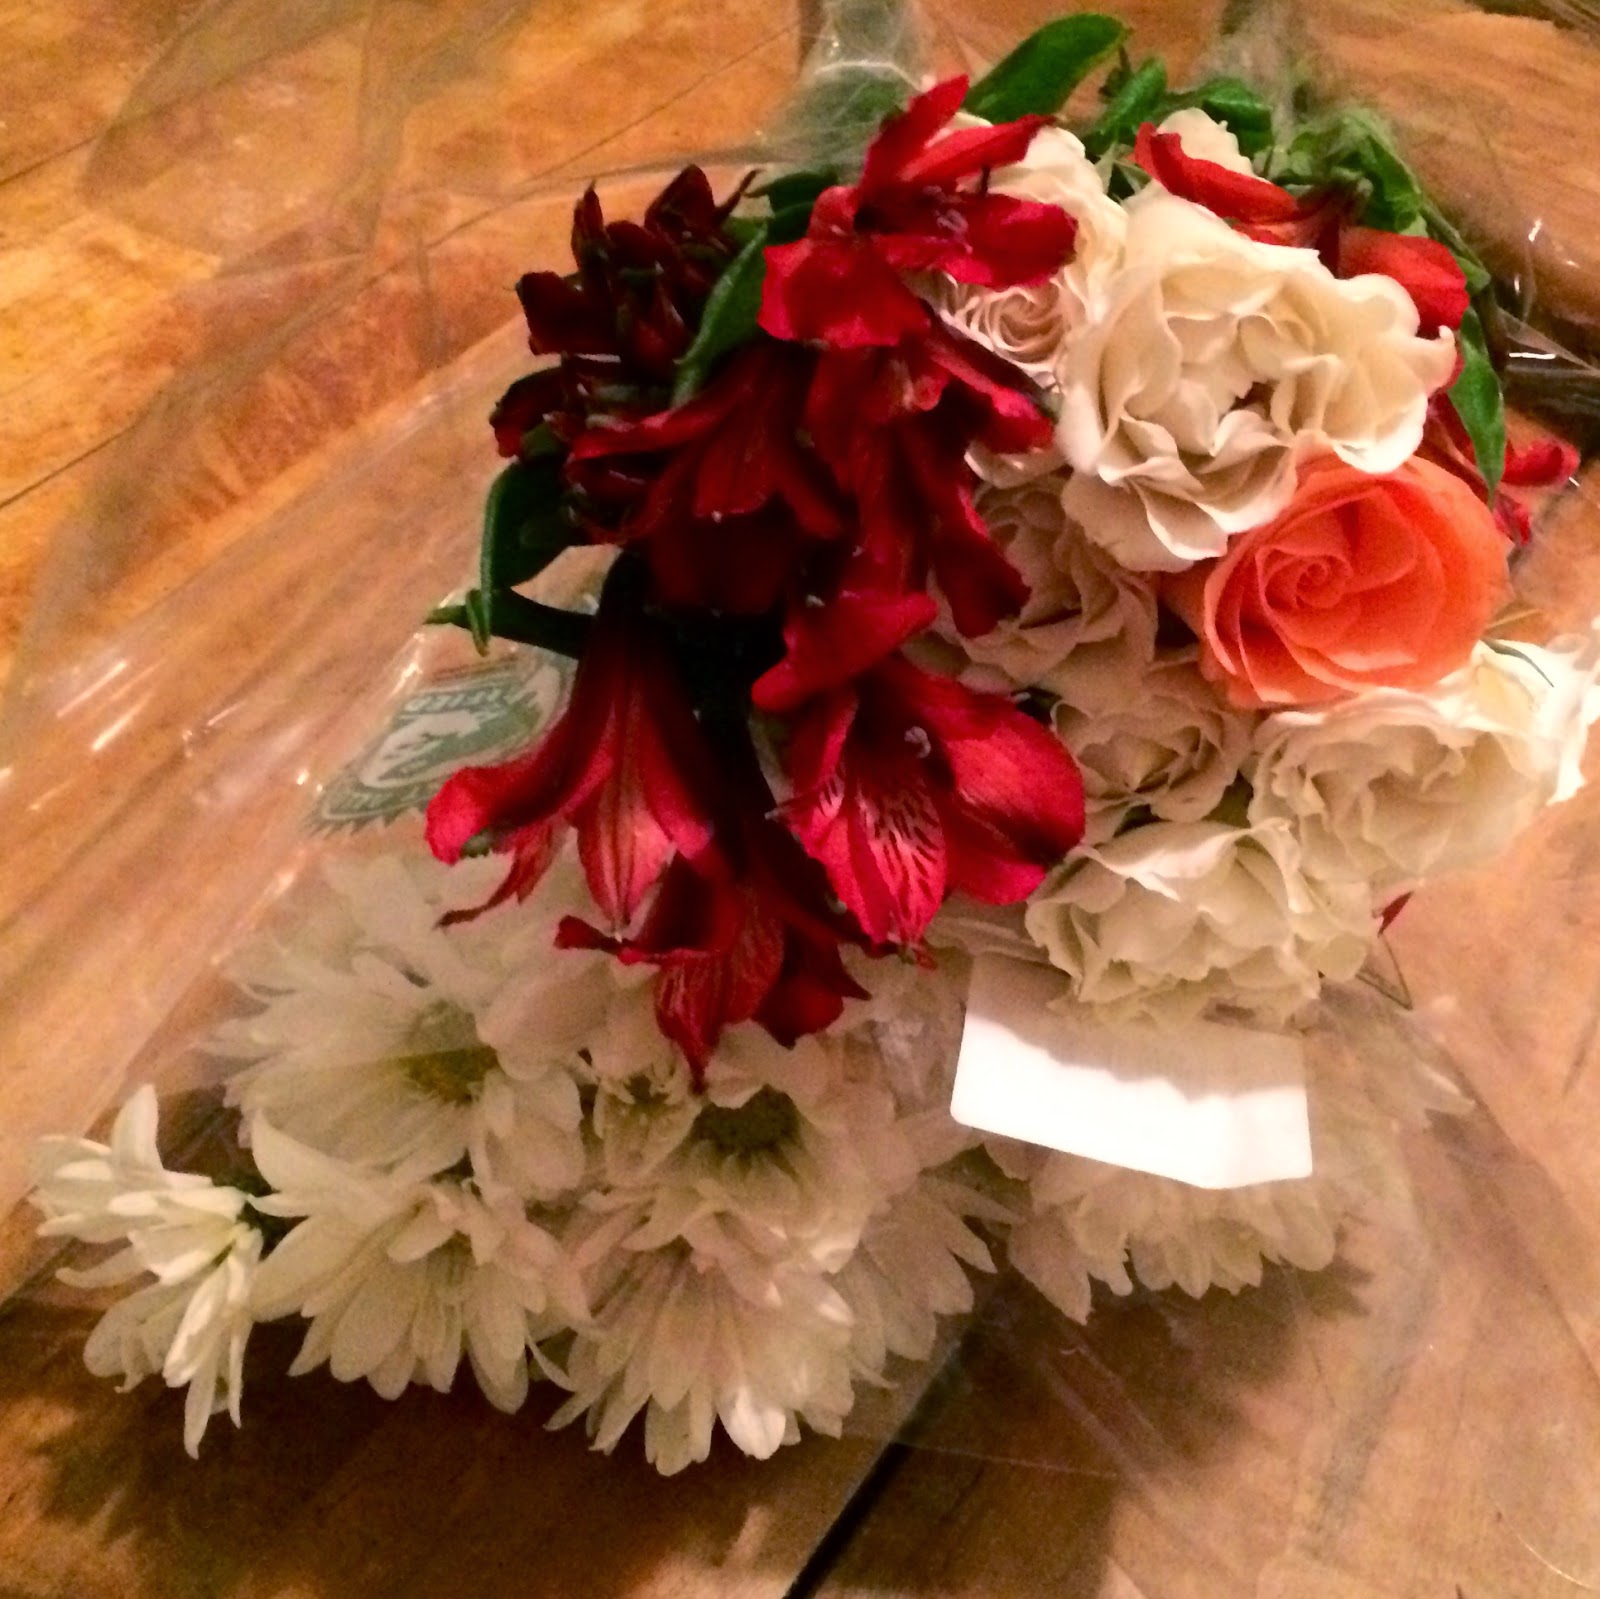
Flowers {At least two or three different sizes/ color to add in some versatility}
Cutting Shears
Spritz Bottle with Water {for future spritzing to keep the flowers fresh}
Optional: An Oasis
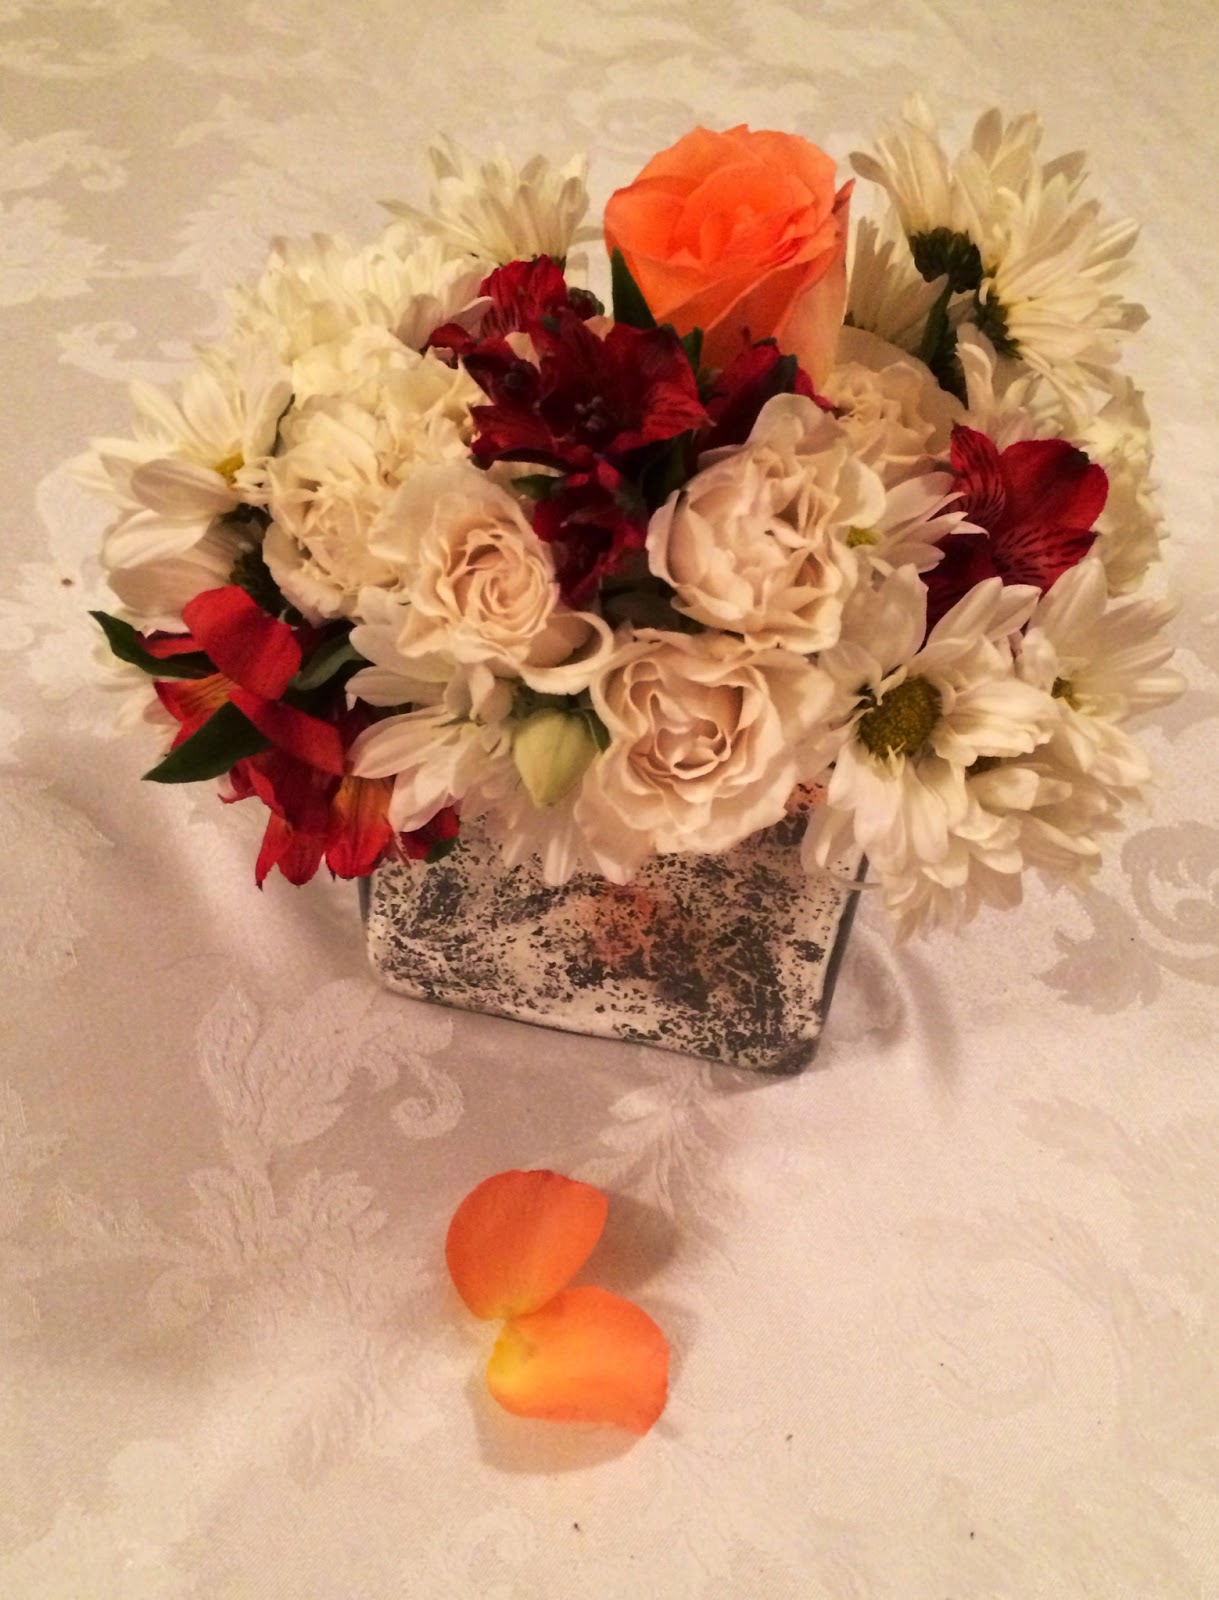
1. Choose from a frosted vase or clear vase. If you use a clear vase, line it with leaves to hide the oasis or water, and flower stems. I chose to use a mercury glass vase since I liked how it looked with the flowers.
2. Fit the oasis {which is a water-soaked foam that helps the flowers last longer} into the vase. However, I ended up just using water with the flower food that came with the bouquet which works just as well.
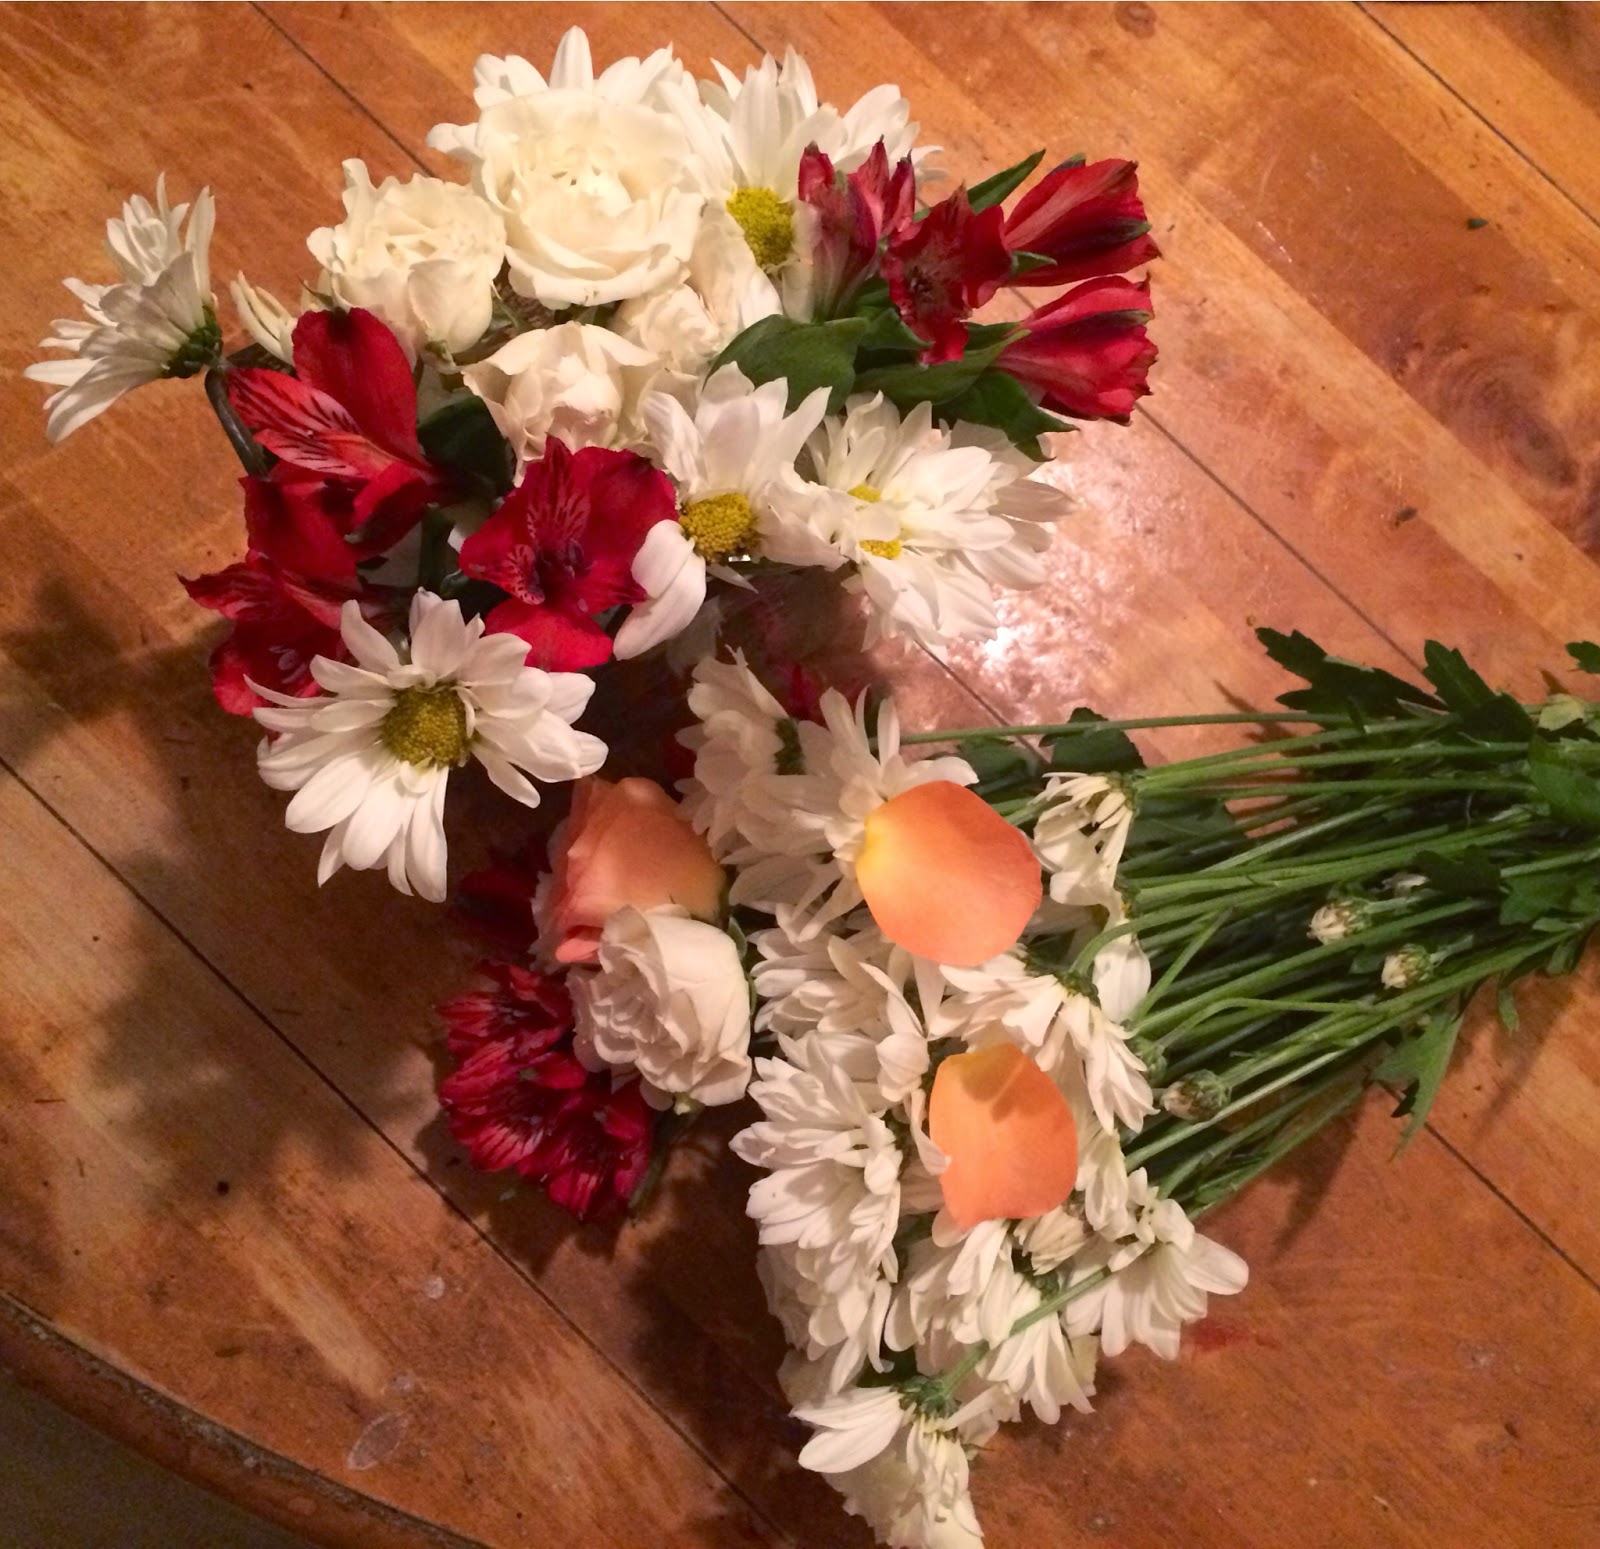
3. Choose the largest flowers first, cut their stems at an angle so they fit in the vase properly, and place them through. Note: A diagonal/ 45 degree cut is one florists use to allow the blooms to last longer. This cut allows the stem to have more surface area that can get to the water and stay hydrated.
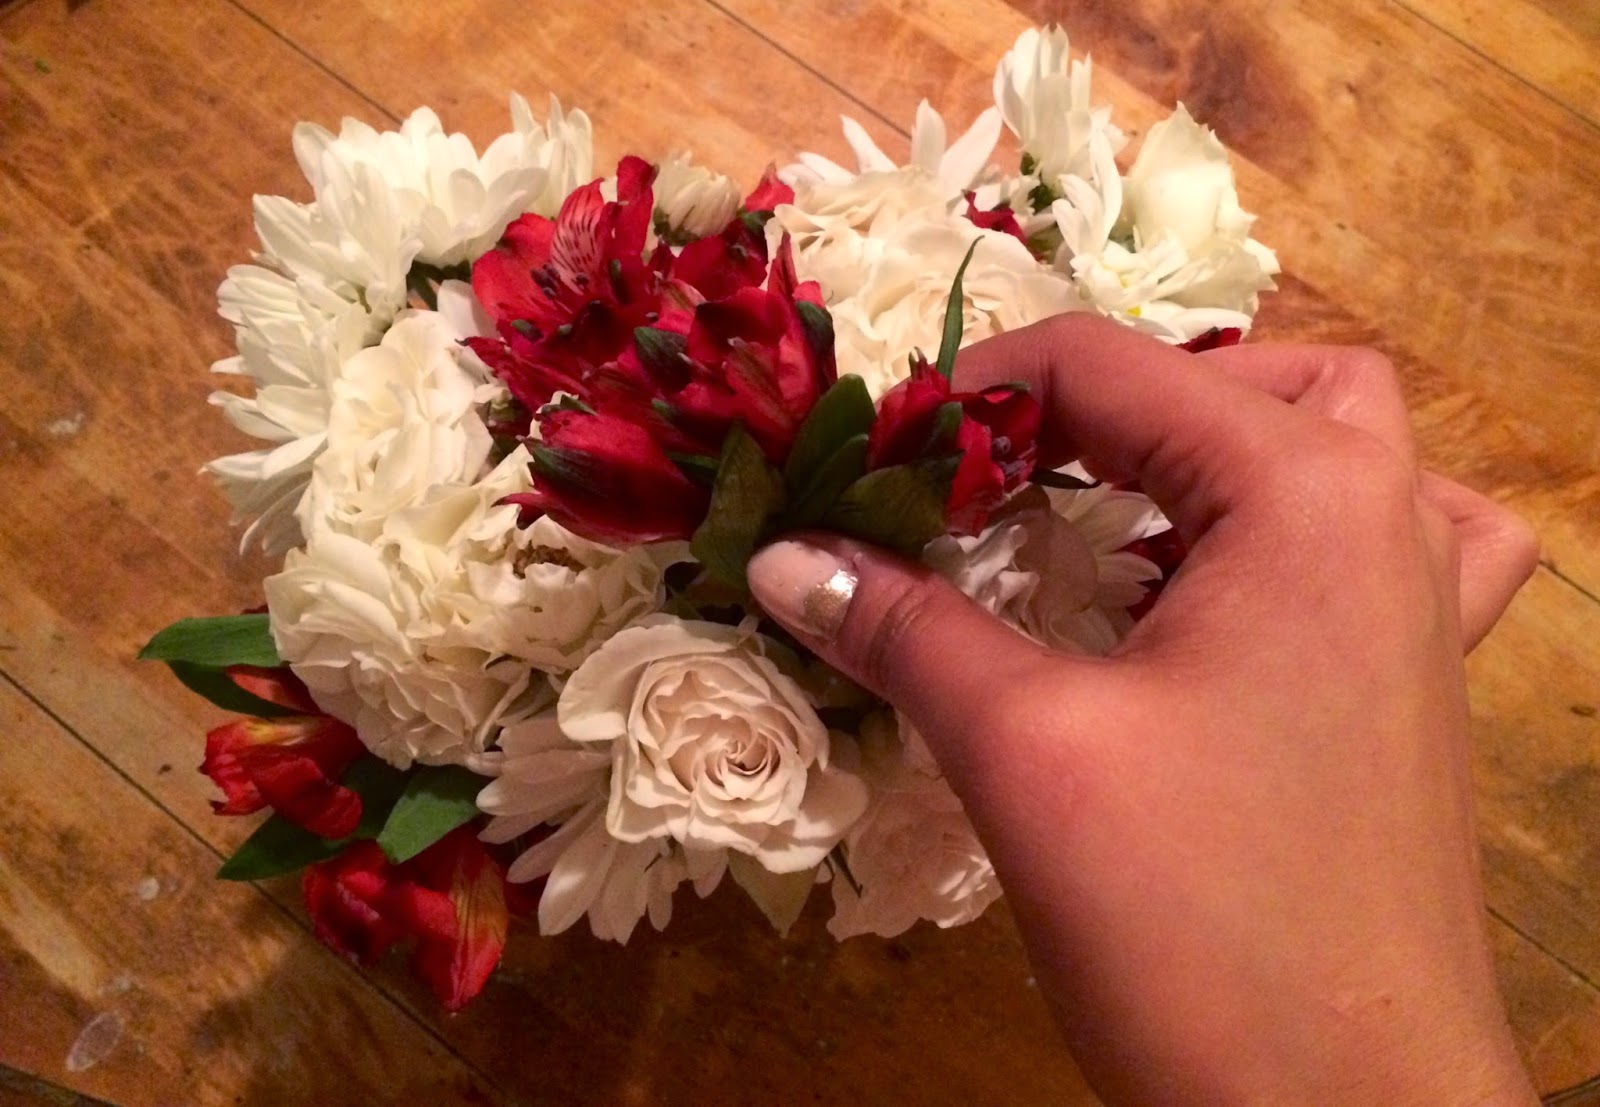
4. Take the medium sized flowers next. I choose to leave their stems just a little longer than the larger flowers, and place them in between the larger flowers.
5. Finally, take the smallest flowers. I leave their stems as the longest {this way the smaller flowers don’t get hidden under the larger ones}, and place them between the medium and larger flowers.
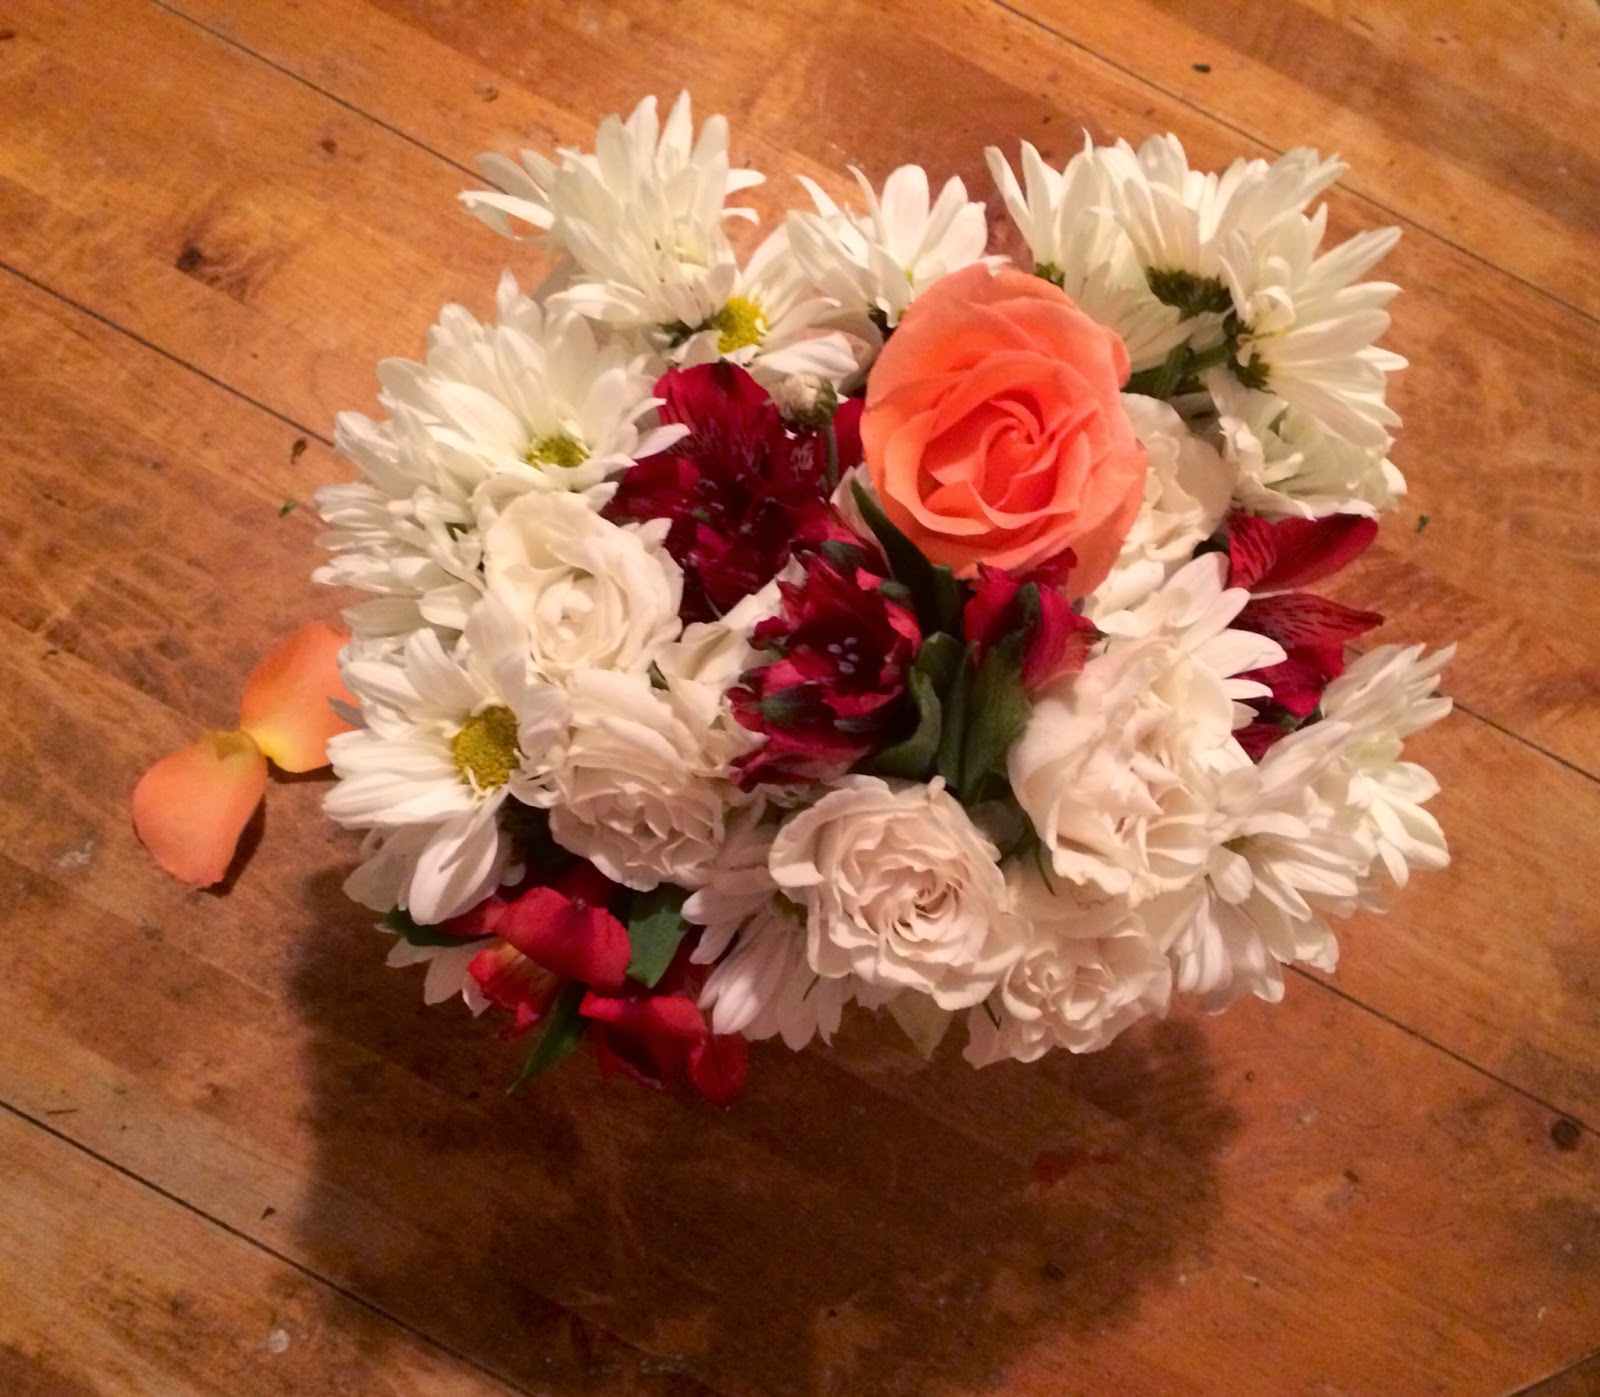
6. Enjoy the flowers, and don’t forget to spritz them with water a couple times a day to keep them looking the freshest and lasting the longest.
x Paris
